When you need to reset your Android device to factory settings, please check out your backup first. Factory reset can wipe out all the data and settings while fixing the system issues or unlocking the device or other things. Once you reset your phone, your data couldn’t be found any more unless you had backed up them in advance. Backup is not such a complicated thing if you follow the methods introduced below.
Part 1: Backup Android Photos and Files to PC via MTP Mode
Part 2:Backup Samsung Phone Data to PC with Samsung Smart Switch
Part 3: Backup and Restore Phone Data with Android Backup & Restore Toolkit
When your Android phone is connected to computer and switch on MTP mode, Media Transfer Protocol, your phone will appear to computer as a removable disk, which can transfer the pictures and files to your computer like a USB flash disk. Details are explained as followed.
Step 1: Connect your Android phone with computer via USB cable.
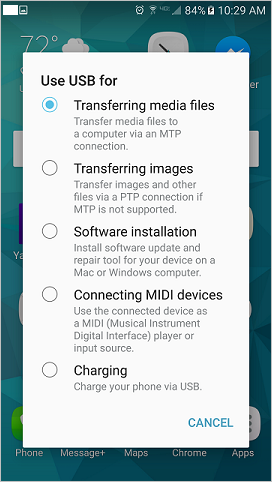
Step 2: Select the “Transfer files /MTP Mode” option.
For older Android version, slide and drag the notification bar down and tap on USB computer connection notification message to find “Transfer files /MTP Mode” option.
Step 3: Go to your PC.
Click the notification of your Android device connection on your desktop, then click “Open device to view files” from the option bars.
Or go to My Computer and choose the Android internal storage, open your device files by double clicks.
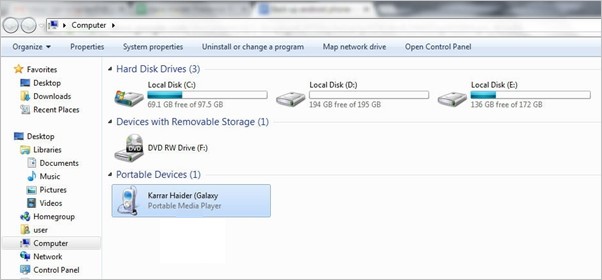
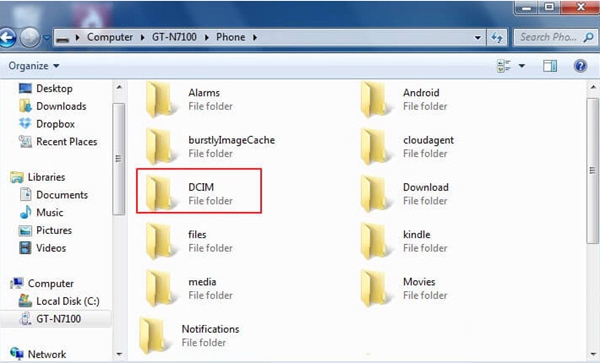
Step 4: You’re now accessible to the file folders of your device. Copy what you want to back up and move to the location you hope on your computer.
Tips for you to find your specific files:
– Camera photos and videos are in the DCIM folder.
– Screenshot images are in the Picture folder.
– Download files are in the Downloads folder.
– Music files are in the Music folder.
– Files received through Bluetooth are in Bluetooth folder.
– App specific photos are in its own folders such as WhatsApp folder, Kik folder, Facebook folder.
And so on.
If your device is Samsung, you have another better way to back up your phone data to computer, using Samsung Smart Switch.
Install the Samsung Smart Switch software on your computer and connect your Samsung device to the software. Then back up your phone data without difficulty. Follow the guide:
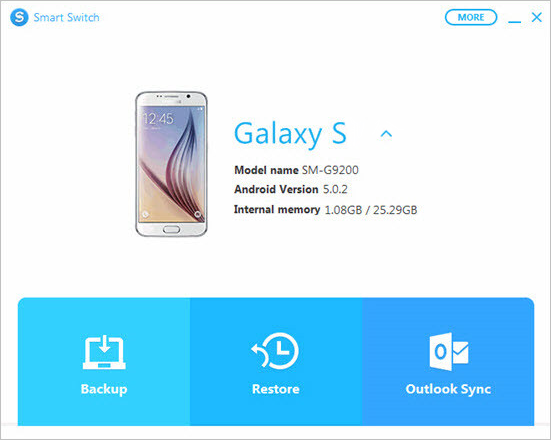
Step 1: Run the Smart Switch on your computer and click “Backup”.
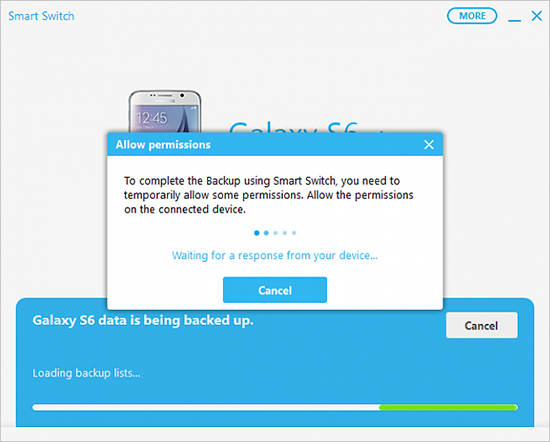
Step 2: You will be asked to tap “Allow” on your Samsung phone to allow the access permission.
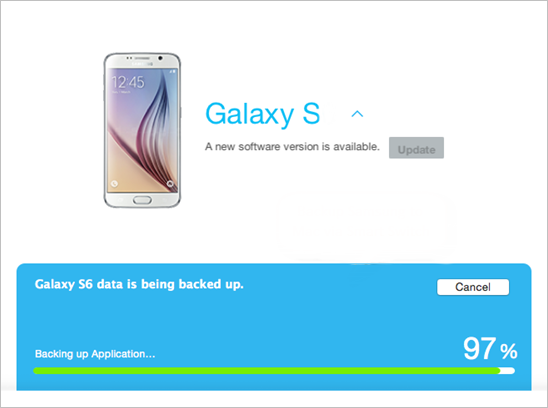
Step 3: Then your data will be backed up immediately. Once the backup completed, you will see the data you backed up successfully. Click “OK” to get over the steps.
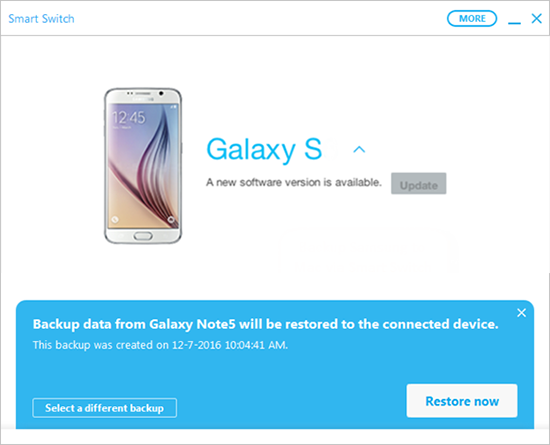
When you want to use Samsung Smart Switch to restore your data from backup file. Run the program and connect your phone with computer via USB. Click “Restore”, select a backup you want, and click “Restore now”. The same, tap Allow on your phone. Then the restore process will begin.
In addition to the two methods mentioned above, you also have a solution to back up the entire data of your phone. This method applies to most Android phones, including Samsung, Sony, LG, Moto, Huawei and so on. That’s the Android Data Backup & Restore Toolkit, a tool makes your backups easy as a cake and implements a one-click complete backup.
The Android Data Backup & Restore toolkit is efficient to back up all the data on your Android phone to computer. What’s more surprising, with the toolkit backing up your contacts, messages, photos, videos, you can view the backup content at any time and selectively restore what you backed up to any Android device.
To back up data, first download the toolkit, then refer to the instruction below:
Download WinDownload Mac
Step 1: Connect your device for preparation
Launch the program on computer and connect your phone to computer via USB cable. Click on “Data Backup & Restore” in the main menu.
Click on “Backup” button to start backup process.
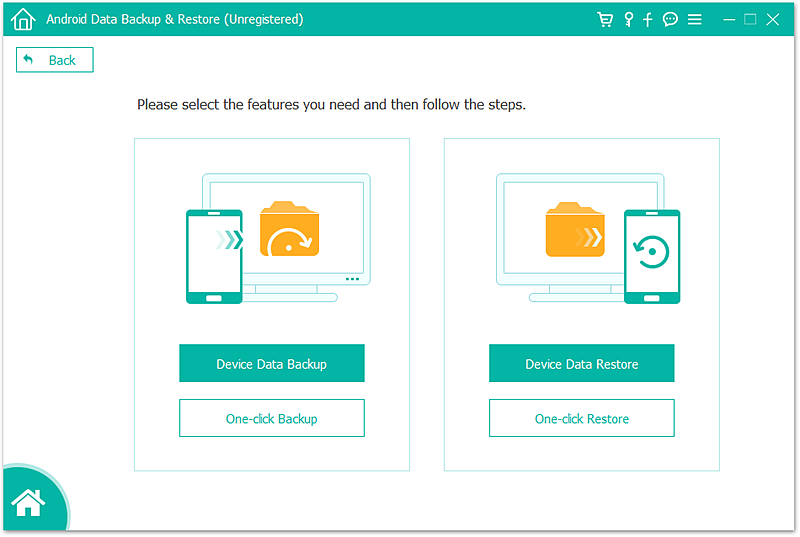
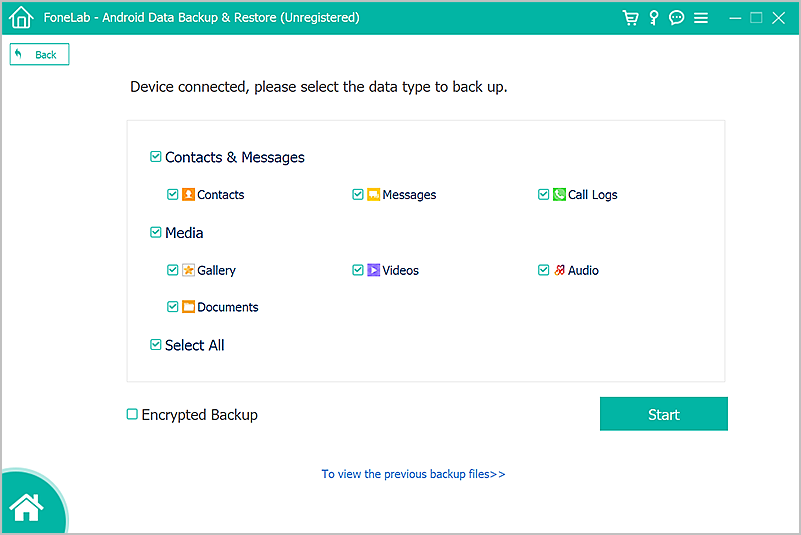
Step 2: Select data types to be backed up
You will see the data types appearing on the window. All is selected by default but you can select them by checking their checkbox. Your Application data will be seen and selected as you click the rightward arrow. Next click on “Backup” at the bottom corner.
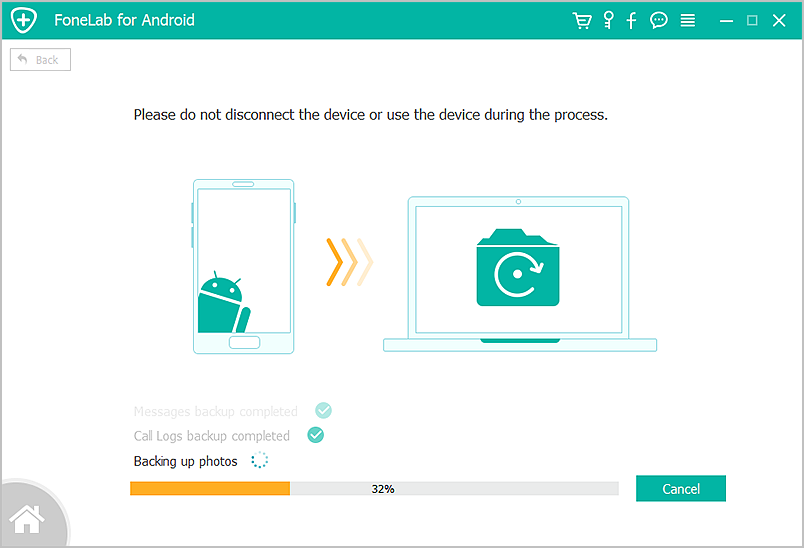
Step 3: Wait for the backup process completes. Don’t disconnect your phone nor use it when backing up.
Once the backup finished, click “View the backup” to check your backed up data just now.
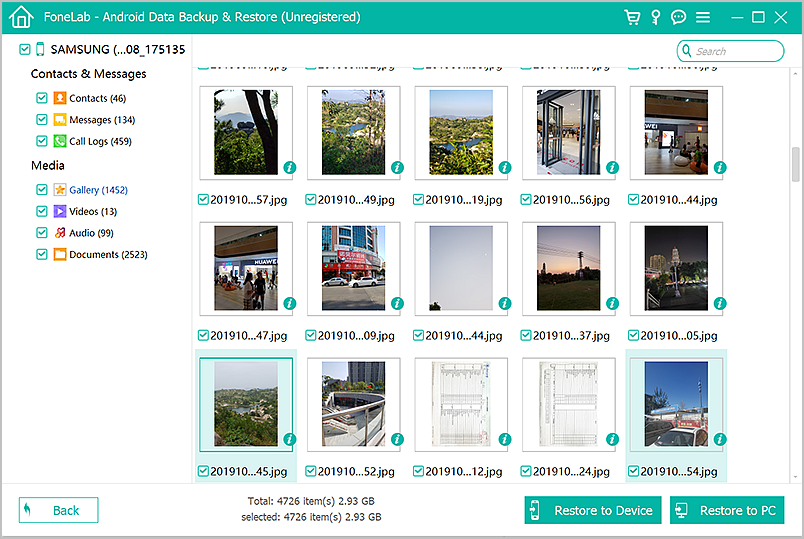
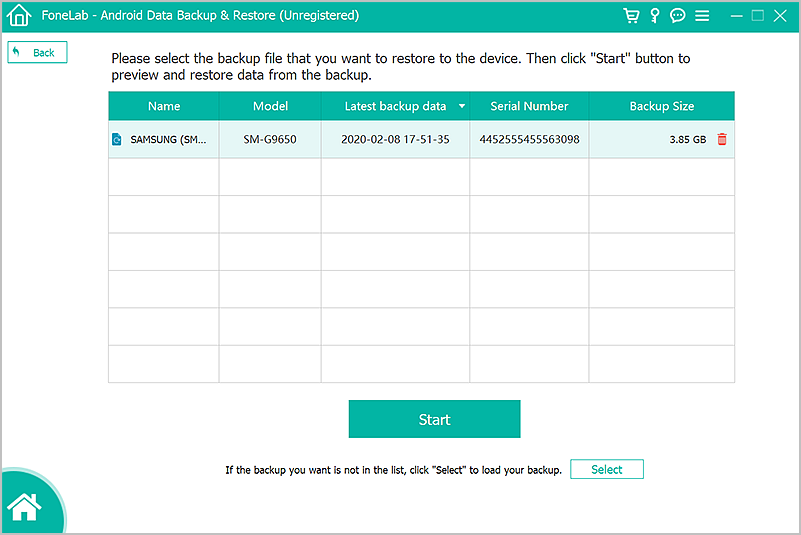
You can view the backup content and selectively restore the backup data to your device with this tool as well.
Run it and connect your device to PC, too. Similarly, when you come to the window where there are two buttons “Backup” and “Restore”, choose “Restore” and select a backup history, then selectively choose the files to recover your backup data.
