Would you like to know how to Root Sony Xperia with or without computer? Well the following article will tell you everything that you may need to take into account and all the information needed to safely and easily gain root access to your Sony Xperia XZ/XZS/Z5/Z3/Z2/Z1 mobile phone. In the following article I will take you step by step through several ways in which you can gain root access to your Sony Xperiaboth with and without a computer. Rooting your mobile phone is the ultimate way to gain the permissions and access that will allow you to fully customize your personal mobile experience.

Part 1: Prepare Your Sony Xperia Device for Rooting
Part 2: How to Root Sony Xperia with Android Root Toolkit
Part 3: Use iRoot to Root Sony Xperia with and without PC
Okay, first things first. It would be wise to prepare your device for rooting. Here are a few ways in which you can ensure the best results from your root.
Step 1. Use Android Backup and Restore to take a full back up of all your data. If the process is stopped mid-way through the root then you could lose your data.
Step 2. Be sure to charge your device above 60 percent as it will be going through a fair few operations.
Step 3. In some cases the anti-virus software that is built into your phone can interfere with the rooting process. You want to ensure that any such security is turned off before you begin.
Step 4. Be sure to download whatever drivers your phone may need just so that you are not caught out during the root.
Step 5. If you are using reliable rooting software then it should offer you the option to un-root your mobile phone when necessary.
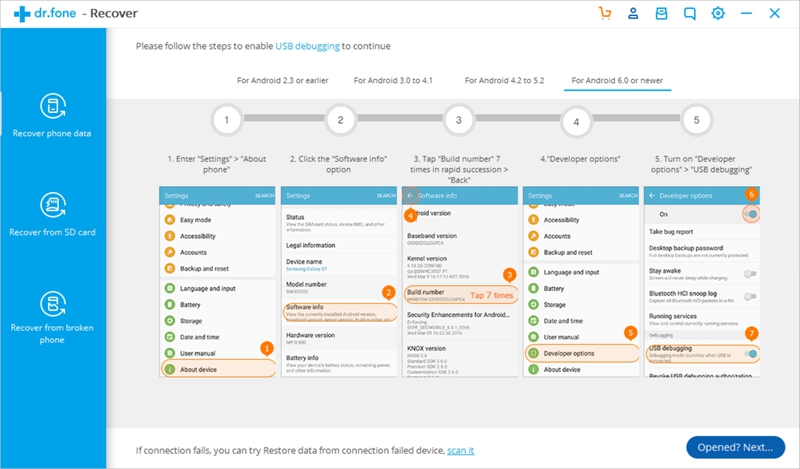
Step 6. The last step in the preparation process is to enable the USB Debugging option on your phone in order to perform the root. To do this you have to go to your phone’s settings, go to “About Phone” and tap the “Build Number” seven consecutive times. Then the developer options on your phone will be enabled. Go to those developer settings and turn on the “USB Debugging” feature.
The Android Root toolkit is recognized as one of the best mobile tools from the start, this toolkit comes highly recommended by users and professionals alike. It is a very smart piece of software that aims to offer a complete solution for all Android devices.
In this part of I will be taking you step by step through the processes used when rooting your Sony Xperia using the Android Root toolkit.
Download WinDownload Mac
Step 1. Download Android Root and install it on your computer and launch the software. Of the options you see on the Android Root toolkit screen, simply select “Root” to continue.
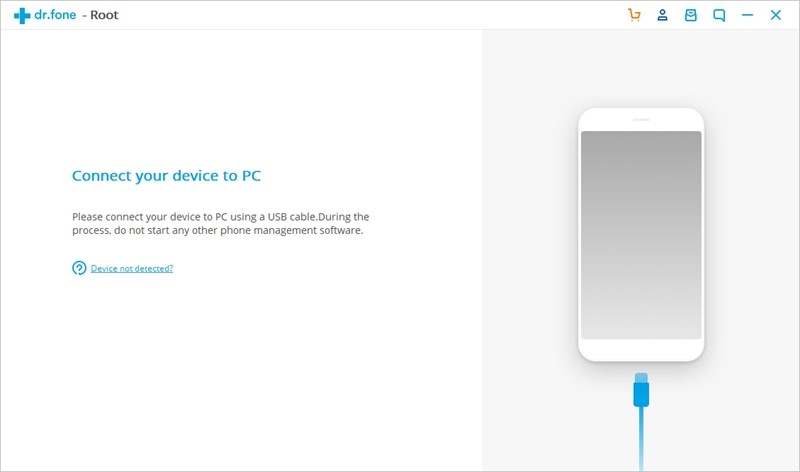
Step 2. Connect your device using a USB cable. You may be confronted with a debugging message, if this happens then simply agree to it.
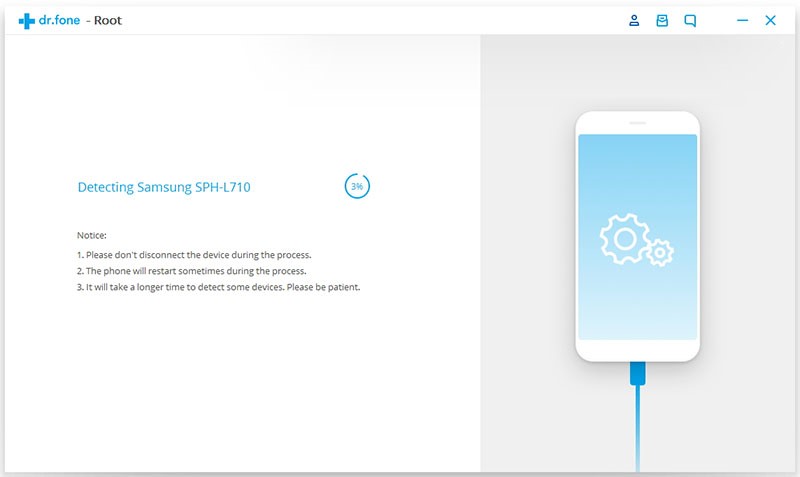
Step 3. As the software detects your device it will begin preparing it to root. It may take a while for this process to complete but your progress will be visible on screen while you wait.
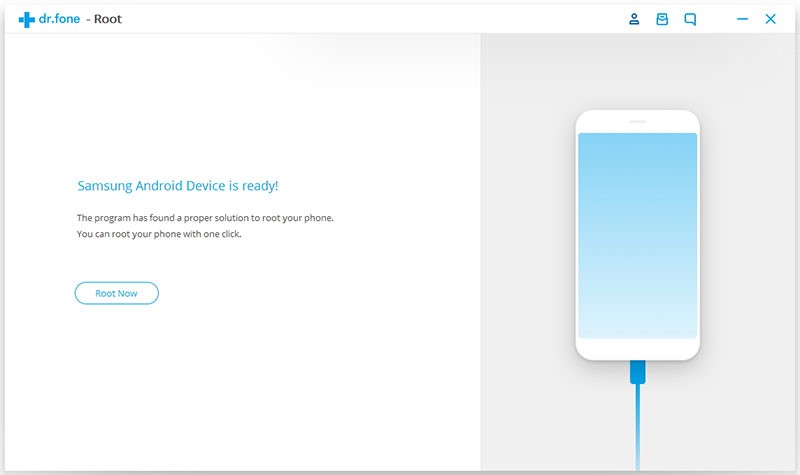
Step 4. Once your device becomes ready the interface will alert you and you can click the “Root now” button to proceed.
Now all you do is wait for your root to be completed. Your device will restart and you may have to confirm any pop up messages regarding the root. Once complete you will receive a message saying “Root Completed” which means that your root has-been successfully completed and you can now disconnect and enjoy your newly rooted Sony Xperia mobile phone.
In this part, I will be taking you through the process of rooting your Sony Xperia device using iRoot with and without your PC. iRoot is a secure and free Android Rooting Software. It is one of the most popular of its kind, especially amongst those who are new to rooting. It has so far been used to root nearly 300 million devices.
Firstly let’s do it with a PC.
Step 1. Let’s begin by downloading the iRoot programme. Once downloaded, open and install it. Now launch the iRoot programme.
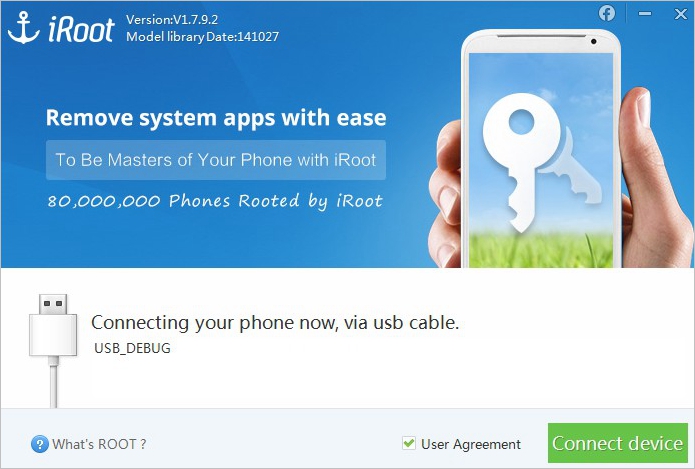
Step 2. You need to enable the “USB Debugging” on your device in the developers’ options. You find these by going to About-Phone and tapping the “Build Number” button seven times. Enter the developers’ options and enable “USB Debugging”.
Step 3. Connect your device to your computer via USB cable. Ensure that the “User Agreement” option is clicked and then click the “Connect” button.
Step 4. When your device has been picked up by the iRoot program all you need to do is click the “Root” button to begin.
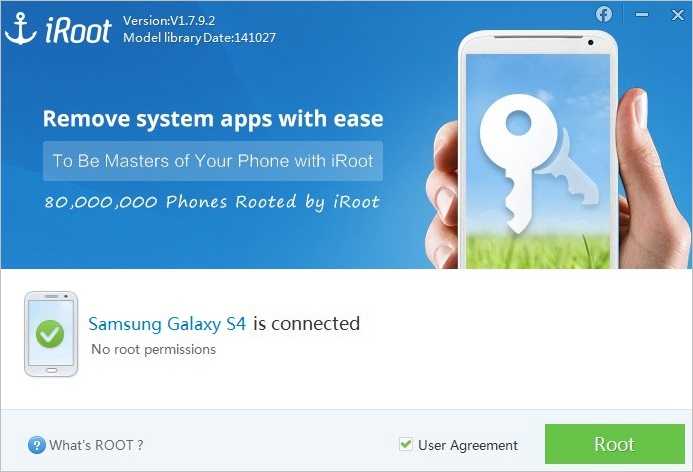
It may take a while for the process to complete but once it does your device will restart and be successfully rooted and ready to use.

Secondly here’s how to do it without a PC.
This process uses the iRoot APK files to root your device.
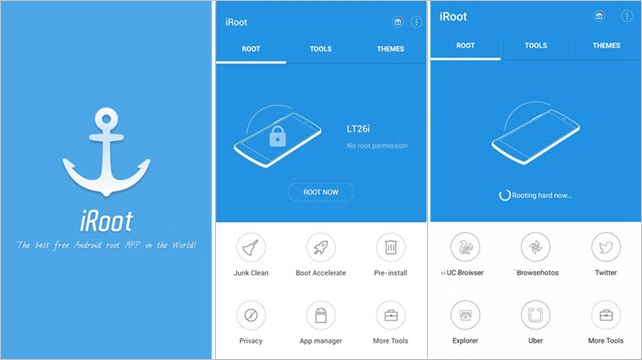
Step 1. To begin with, you need to install the “iRoot APK” files onto your Sony Xperia device from Google Play store.
Step 2. Once the files are installed, click on the rooting tool and then click on the “Get Root Access” button.
Step 3. Now all you do is wait for the process to complete at which point your device will automatically restart ready for you to use.
This two method is the preferred method of rooting for those with more technical knowledge. For those who are looking for a more straight-forward method, rooting using iRoot as detailed above is the way to go.
There you have it folks, rooting your Sony Xperia mobile phone is made a simpler task using the detailed and outlined processes in this article. With or without a PC you can now root your device and explore all the many new customizable options. Gone are the days of in game adverts as the whole world of your mobile device is now opened up for quick and easy access.