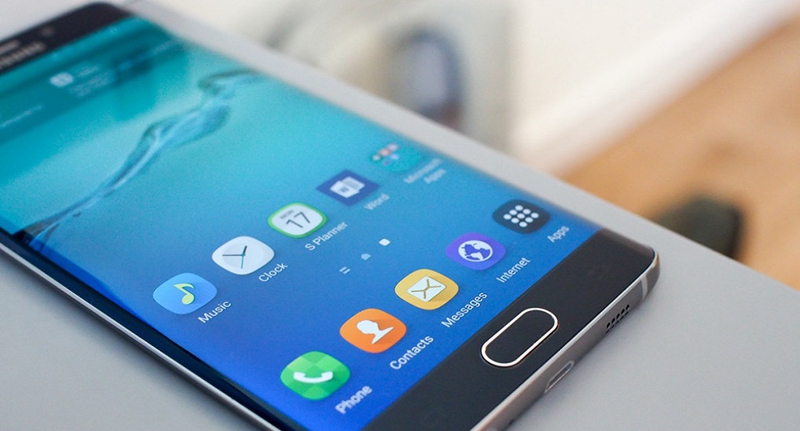
The Samsung Galaxy smartphone series is incredible, but sometimes they freeze in the worst of moments. Luckily, Samsung installed a mechanism that allows users to forcefully restart/hard reset their devices without affecting any data stored in the device. Here, we are going to teach you how to do it.
Part 1: How to force restart Samsung Galaxy
Part 2: Back up phone data when you have to factory reset your Galaxy Phone
Part 3: Restore phone data back to the smartphone after factory reset
Before starting the process, there is one thing you need to check. First, the battery life has to be above 5%. If the smartphone does not have enough juice, it might turn off after the reboot. If it turns off, it means the power source is completely depleted. In that case, users should connect it to the wall charger and wait for at least 15 minutes before turning it on.
Now press both the volume down and the Power buttons for 10 seconds. That triggers a simulation of a battery disconnection, and after a couple of seconds, your smartphone should be up and ready to use. However, sometimes that is not going to be enough.
Sometimes, users attempt to root their Samsung Galaxy or install a custom ROM but get frequently froze, requiring a reboot each time. As a result, they are forced to restore their devices to factory settings effectively losing all the pictures, music and documents that were on the smartphone. Luckily, there is a solution for that too.
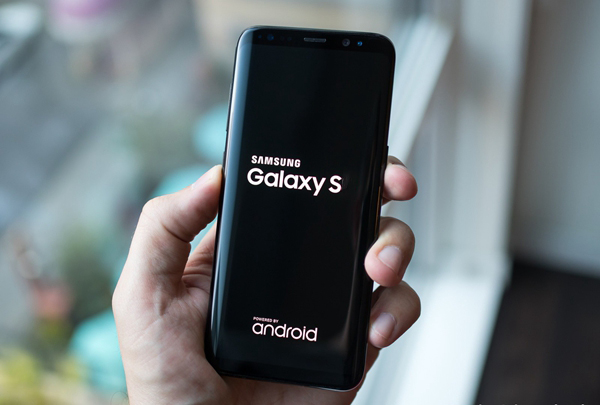
Many users have been in the awkward position of having to restore their Galaxy Samsung smartphones to factory settings. Luckily, there are programs like Android Data Backup & Restore which allow people to back up and restore their Android phones without being tech experts. The program has been downloaded for more than 50 million people around the world, and it has been praised as one of the most effective Android data management tools in the market.
Download WinDownload Mac
Step 1: Download and install the software. When it opens, the screen will show all the options available. On that menu, click on the option that says “Backup & Restore”.
Step 2: The next step is to connect the Android Galaxy phone to the computer using a USB cable. 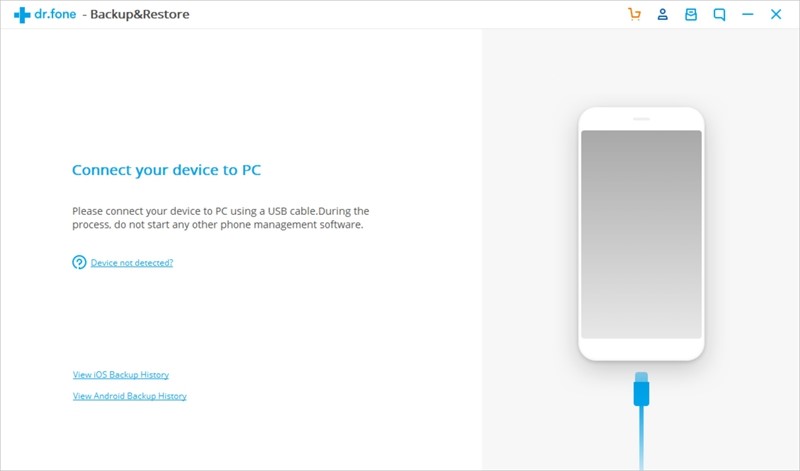
If you have not enabled the USB debugging mode, do it. Otherwise, the software cannot start making its magic.
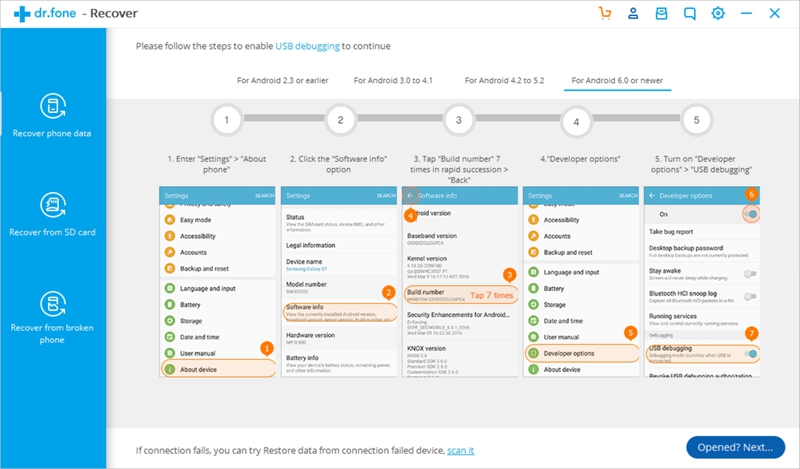
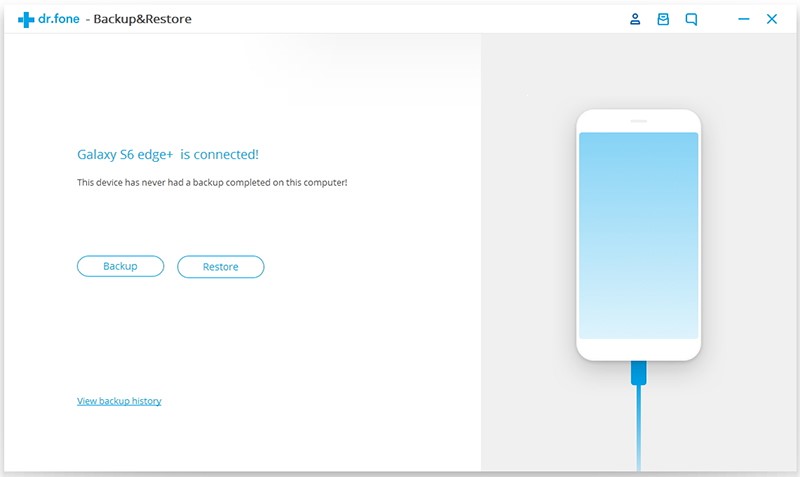
Step 3: After that, click on the “Backup” option to start gathering the data. The software allows keeps track of the user’s files. So, if you have used the program to save file, it will give you access to a backup history menu.
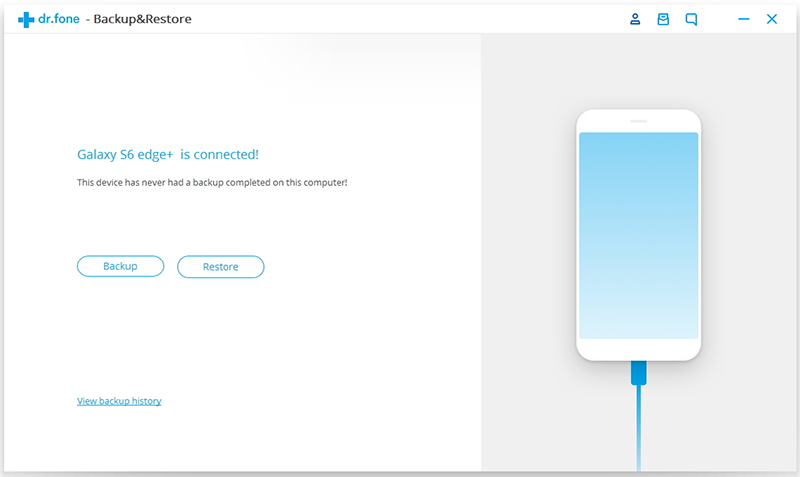
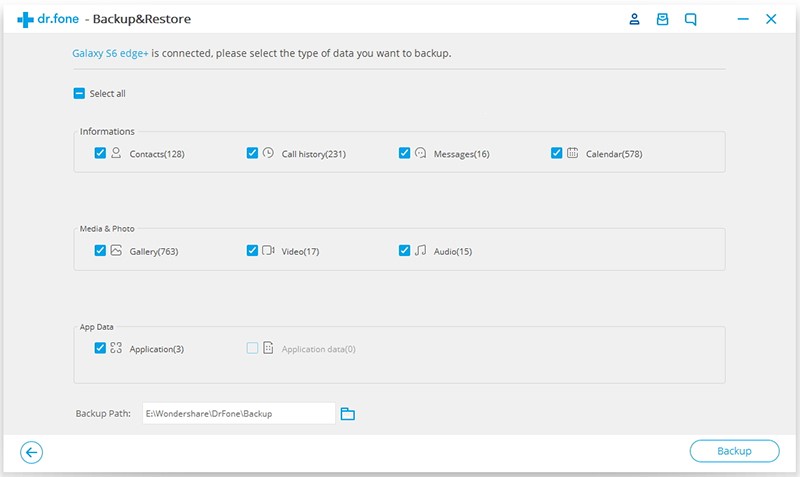
After clicking on backup, the software will ask you to choose the type of files you want to back up. You can select contacts, call history, messages, calendar, video, audio, gallery, and even apps and app data. Then click Backup button to continue.
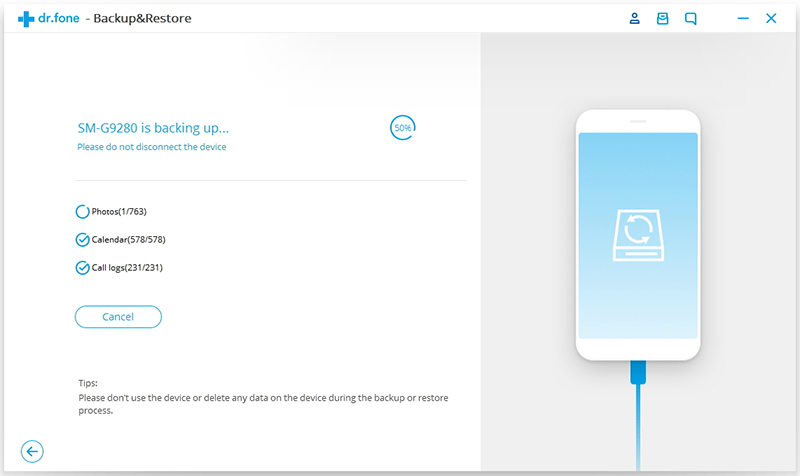
Step 4: Once you have chosen the files, you need to wait some minutes while the program backing up all the information. During this process, you cannot disconnect the handset, use it nor delete any data from it. You can still use the computer for other things, though.
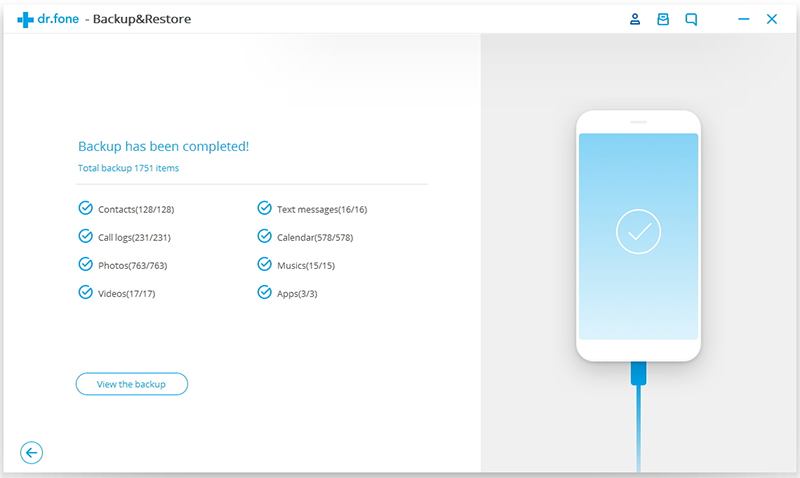
When the software finishes the backup process, can click on the “View the Backup” to see the details. The program shows you the type and quantity of files that were saved in the extra copy. Check the program has all the important information you want to preserve and move on to the next step.
Factory reset your Samsung Galaxy
Now that you have a copy of everything that matters, disconnect the Galaxy. Then, tap on Apps > Settings > Backup and Reset.
Scroll down until you see the “Factory Reset” option and tap on it. Select “Reset Device,” and activate the “Erase Everything” function.
The factory reset might take a while, so be patient and wait for the phone to reboot. Once, it is up and running, set the basic functions and go back to the computer to restore your phone data.
Restore phone data back to Samsung Galaxy
Step 1: If you closed Android Data Backup & Restore toolkit, launch it again. Click on the “Backup & Restore” option again and connect the Galaxy phone.
Next, just click “Restore button”
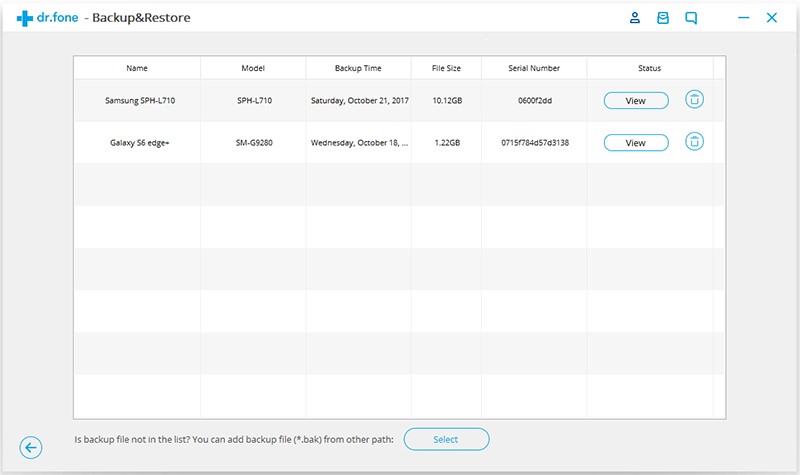
Step 2: You will see all the backup files with the phone’s name, the recorded date, size and a serial number. At the far right, there is going to be an icon that says “View.”
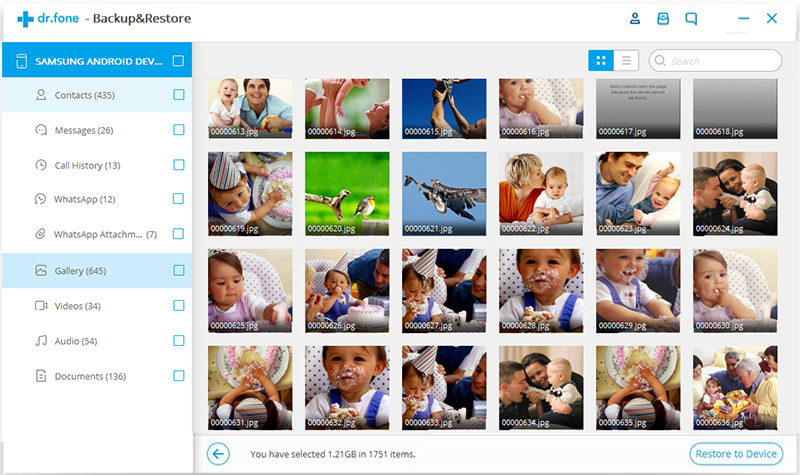
Step 3: That will give you a full detailed preview of the information contained within that specific file. For example, select contacts in the left window and you can see contact names and numbers, among other things in the right window. At the bottom right of that screen, there a button that reads “Restore to Device.”.
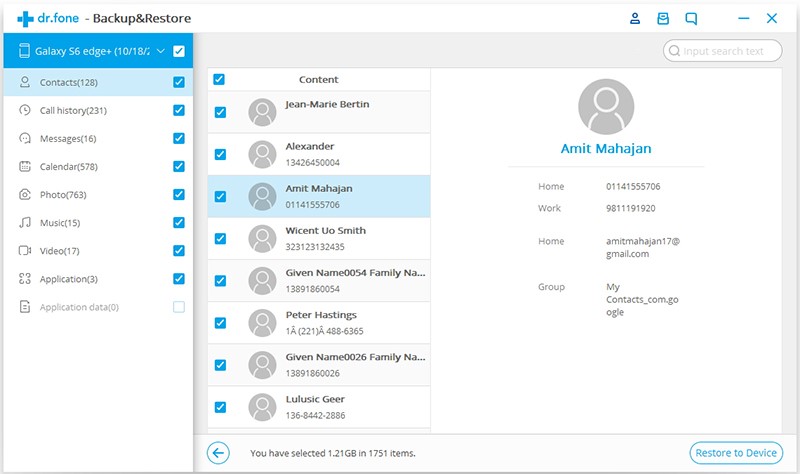
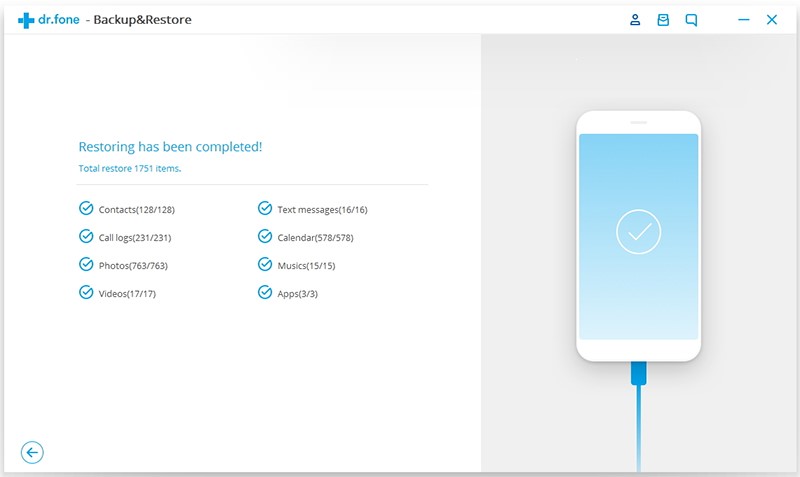
When you are sure that is the correct file, click on the restore button and wait while the software transfer the information from the computer to the phone. It should take a few minutes.
Step 4: Do not disconnect the Galaxy phone while this process is active. Also, it is a good idea to not using the device at all because it can mess with the data and create unexpected problems.
When the process is ready, unplug the Galaxy phone and make sure all the information you needed is back in the device.
 Download WinDownload Mac
So, did you find this article helpful? Let us know if we missed something in the comment section below!