The use of Android phones to transfer files using a USB cable is usually simple to all users. This becomes more challenging when it involves using a flash drive and an OTG cable instead, especially to those who are novice computer users. An On the Go cable is a device that allows communication between mobile phones and flash drive, SD card reader. During the file transfer process, you should be careful to mark the correct location of the files to avoid losing them or unnecessary duplications.
Part 1: Benefit of Transfering file via OTG
Part 2: How to Use OTG to Transfer Files to Android
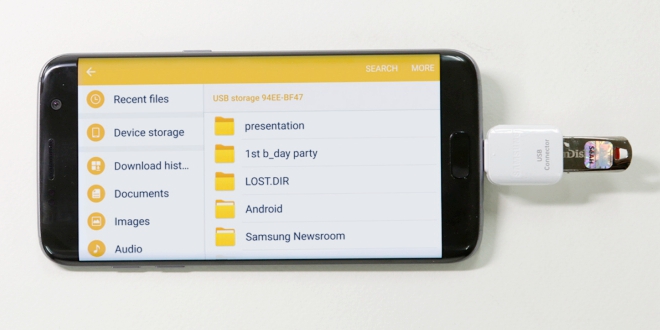
You can view the content or transfer file between flash drive and Android phone via OTG cable or flash drive with micro USB port. The OTG apply in all types of files whether PDF documents, audio file (MP3) or video files (MP4, avi) and photographs of all types. Unlike other transfer methods such as using Bluetooth connection, OTG has the following advantages:
1. OTG cables are usually fast, more secure and less prone to file loss. The cables provide a more stable avenue that cannot be easily interrupted allowing you to transfer your files easily and safely.
2. They also offer convenience since they are usually compatible with several devices such as Samsung, Android, Motorola and Huawei among others. With just one cable, you can connect different types of devices reducing the need to buy several cables.
3. In addition to saving money, this helps also helps with keeping the surrounding neat since you don’t have to worry about tangling wires. The OTG cables are usually short enough to allow their effective functionality without creating a mess. Being that they don’t distort the transferred files also adds to the advantage of their use.
Most people usually want to know how to transfer files between Android and flash drive via OTG use but end up losing those files by not paying attention keenly. The process isn’t complex but a simple mistake usually ends up costing most a lot. You should therefore connect flash drive on Android properly before proceeding to do anything else. In case of any data or file loss, you can use the appropriate Android Data Recovery app to help with their retrieval. With the different types and phone models, it can be difficult to know the right procedure for file transfers. Below are some helpful tips.
Step 1. Confirm your phone’s connectivity.
Once you have all the devices in place, the first step in using an OTG cable or a flash drive with micro-USB port is making sure it can be connected to your phone. To do this, use an OTG cable to connect a flash drive to your phone or connect your micro USB/Type-C USB flash drive to your phone directly.
You can also try using an app such as “USB OTG checker” to determine connectivity capacity. Na phone that has this ability will be able to identify the device easily. Since newer versions of Android devices have this ability in-built, one can go without testing them. All you need is a male and female adapter and the flash drive.
Step 2. Connect flash drive to Android phone via OTG.
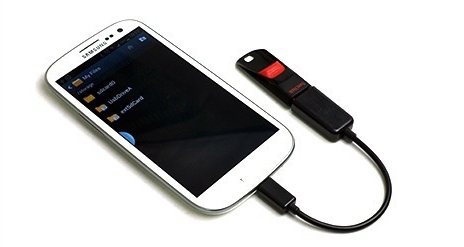
Use OTG cable and USB flash drive:
Attach the female end of the OTG cable/OTG USB plug to the flash drive. The female end is the side that’s hollow while the male end is usually the protruding side. Simply insert the flash drive into the adapter. Once ready, attach your Android device to the other end of the cable.
Use micro USB/Type-C USB flash drive:
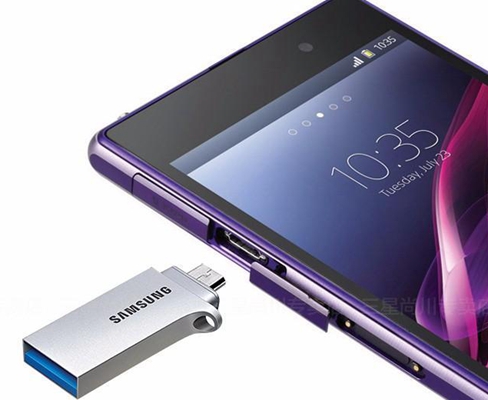
Insert your micro USB/Type-C USB flash drive to your phone’s USB port directly.
Step 3. When connection becomes successful, your phone will present a notification requesting to allow access.
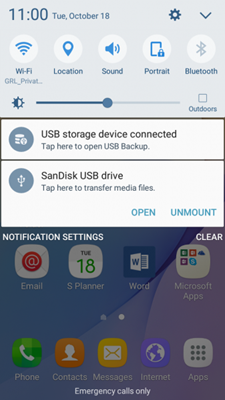
Allow this then select the folder containing your files by clicking on it. In some cases this notification appears automatically while in other you’ll be forced to get it manually depending on the type of phone you have.
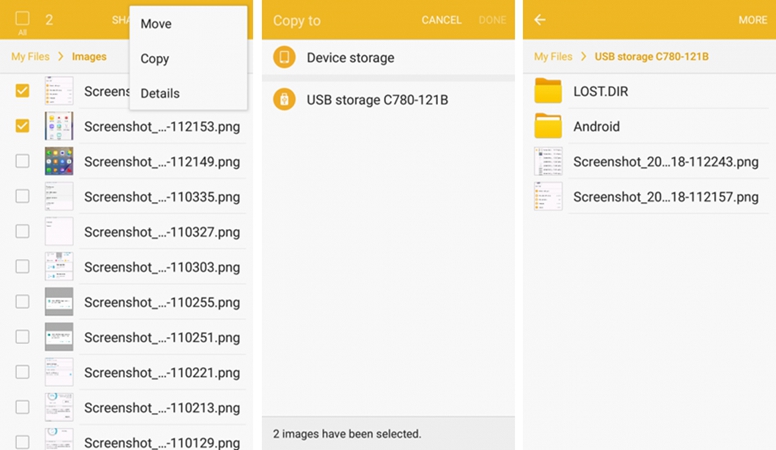
Step 4. After opening the folder with your files the next step is to transfer them.
Identify the specific files you need within that folder and select them by tapping and holding them for longer. After successful selection clicks on copy or import then click on the new location you want. The files will begin to move, showing progress rate on another notification bar.
Of course you can just view the photos or play the audio and videos on your flash drive without transfer to your Android phone.
Step 5. Once you see that all the files have been transferred successfully you can disconnect your cable by simply unplugging it. You can also give your phone the command to end connection before unplugging. Although it’s not necessary, you can decide to confirm if all the files you need have been copied before severing the connection. To do this, you will have to open the new folder and check for the new files.