If you have a Samsung Galaxy smart phone, and you are a camera person, like to record life, or is very fond of self-timer, then you must have a picture on your phone, but also a lot of photos. However, device memory is limited, and you can store these photos including screenshots on your phone until you run out of internal and external memory. And, better picture quality, bigger size, means larger memory. At some point you’ll run out of memory.
What should you do? Well, you need to backup them to make new photos available without losing old photos. This tutorial introduces you to some half the effort techniques that allow you to start backing up your photos from your Samsung Galaxy S8/S7/S6/S5/S4/Note 8/Note 7/Note 5/Note 4 to your computer.
Part 1:Backup Android Photos to Computer Using USB Cable
Part 2: Sync Android Photos to Cloud or Computer Using Google Photos/Google Drive
Part 3: Backup Photos to Computer Using Android Data Backup & Restore Toolkit
The first method is the most common one most people do. Via USB cable, transfer the photos from phone to computer. Connected with computer, the Samsung phone is just like a media device appearing on the computer. So, each picture can be accessed and copied to computer simply in MTP mode. Check the below steps to back up Samsung photos to computer.
1. Connect your Samsung to computer using USB cable.
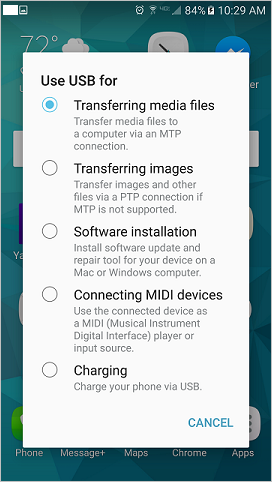
2. Choose MTP/Transfer media files option. If MTP is unavailable, choose PTP/Transfer images option.
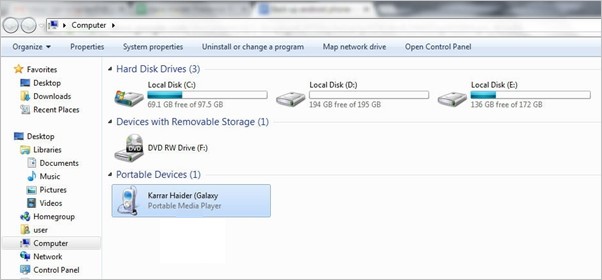
3. Double click your device to open it on your computer.
4. View the file folders and find the DCIM folder. Double click the folder, there should be Camera photos and Screenshots, open them to access your pictures. Sometimes the Screenshots may be in Pictures folder, provided different situation from phone to phone.
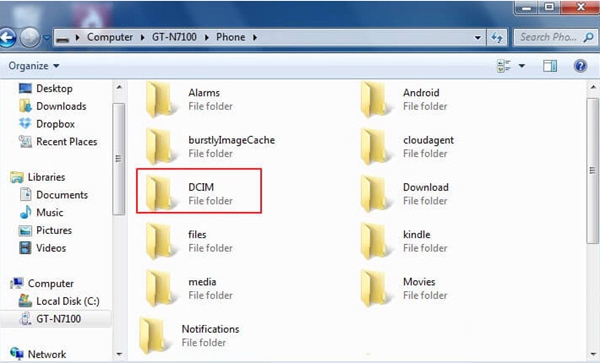 Pictures downloaded from website are in Downloads folder. Photos received through Bluetooth should be in Bluetooth folder.
Similarly, pictures from an app should be found in the specific app folder. And so on.
5. If you have found your photos, copy them and paste them to a location of your computer.
If you are tired to back up the photos via cloud, turn to another way, the Google Photos/Google Drive, the apps providing photos backup service for Android users.
Google Photos or Google Drive achieves to back up your Samsung phone photos to Google cloud automatically if you have a Google account signed in and turned on the Sync & backup of photos on your device. Read on the steps.
1. Go to “Settings > Account” and associate with your Google Account.
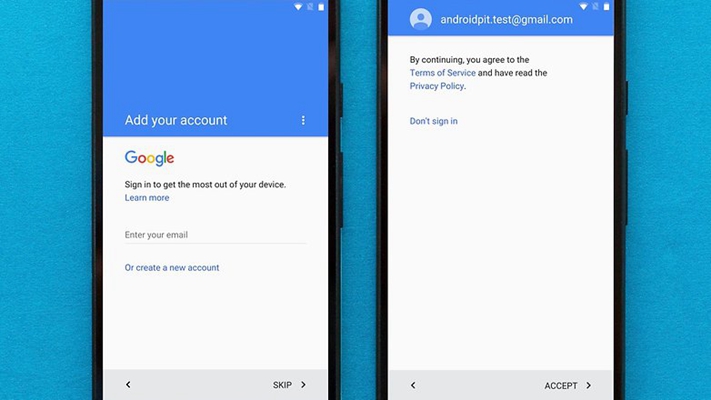
2. Launch the Google Photos.
Log in your Google account by tapping the menu icon on the left top screen. The Google Photos will associate with the Google account on your Android device by default, or you can add your Google account manually.
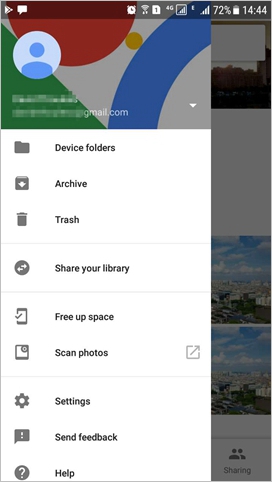
3. Now Google Photos will automatically sync the photos and videos to Google cloud by default.
You can check the auto sync feature in the App, tap menu icon > Settings > Back up & sync > turn on the “Back up & Sync” switch.
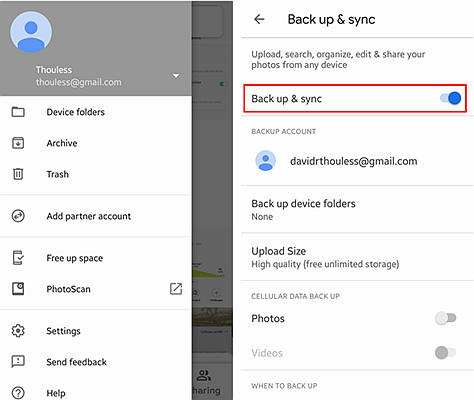
to save your mobile data, you can go to the Settings> Data usage > Transfer files only over Wi-Fi under the menu to choose back up only when Wi-Fi on.
4. If you are using Google Drive, you can put Google Photos into Google Drive backup in setting menu.
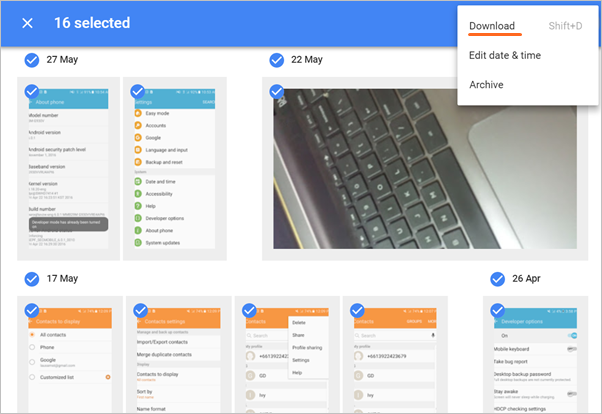
5. To download photos to computer, visit Google Photos/Google Drive website from computer browser and sign in your Google account.
Next, select the photos you want and click the download button on the topper light, the photos will save to your computer.
Maybe you want a simpler method to back up your photos or create a full backup of your phone? Here comes the Android Data Backup & Restore Toolkit for your reference. Keep reading to learn the convenience of this toolkit.
Android Data Backup & Restore is a one-step service tool backing up and restoring the photos. It has a distinctive feature that allows you to selectively restore the photos from backup to Samsung device. Other brands of Android device can also get matched with this professional and effective toolkit. Just need a few minutes, your photos can be easily backed up to computer and you can transfer to any other device.
Above all, download and install the Android Data Backup & Restore Toolkit on computer. Then shall we start.
Download WinDownload Mac
Step 1. Launch the program and choose “Data Backup & Restore” feature module from the menu.
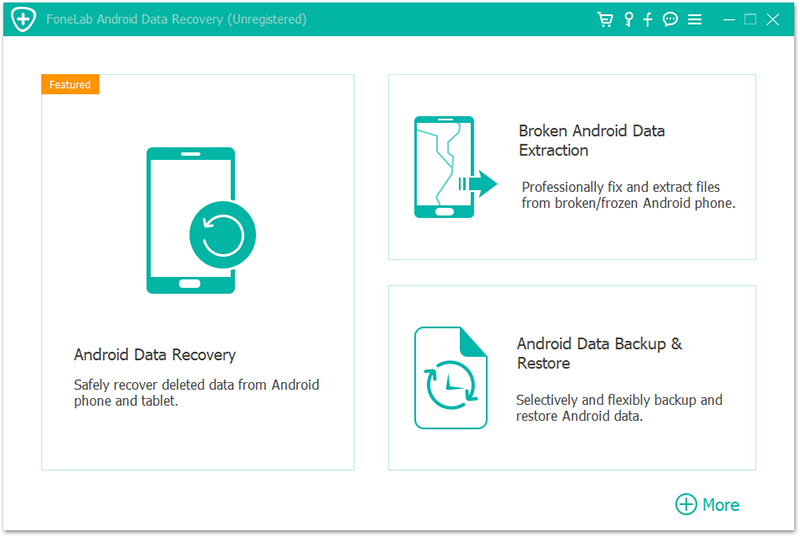
Step 2. Connect your Samsung to computer via USB cable.
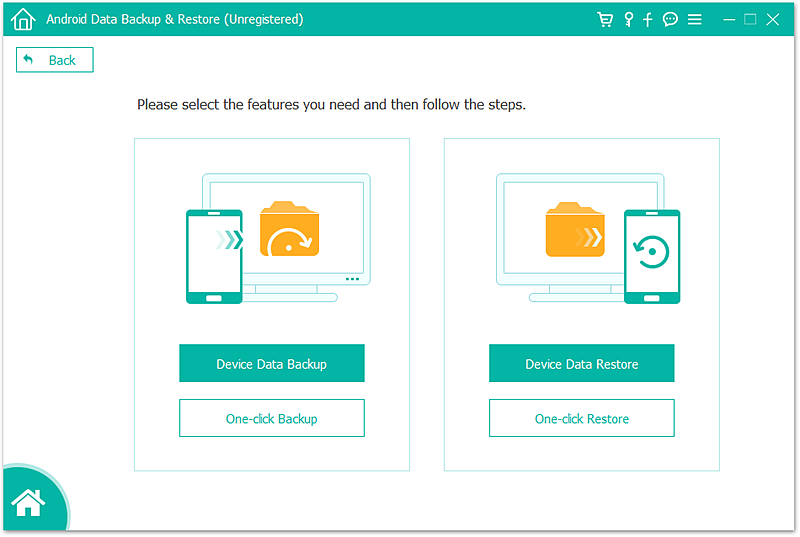
If you haven’t turned on the USB debugging switch on your Samsung phone, the software will ask you to enable the USB Debugging with the instructions.
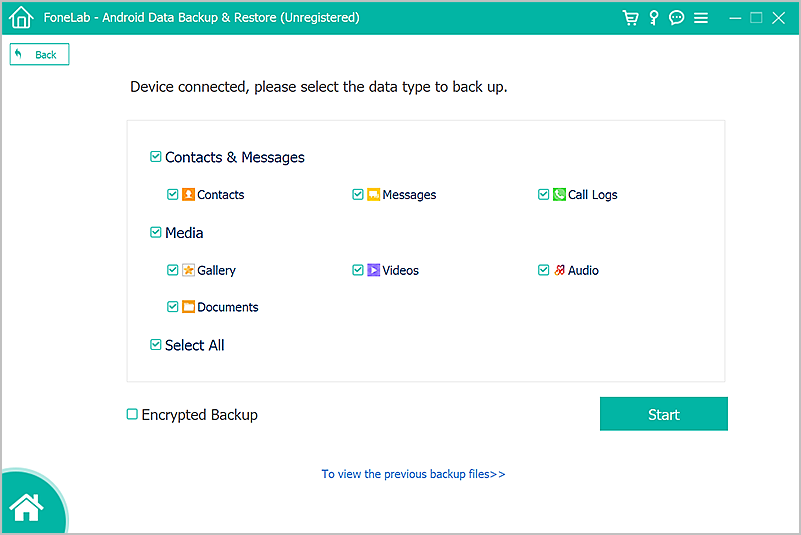
Step 3. Come to select the data type to back up. By default, all the data types are selected, you can select the specific data type “Gallery” from the list to backup the photos only.
Then click on the backup button at the bottom to move on.
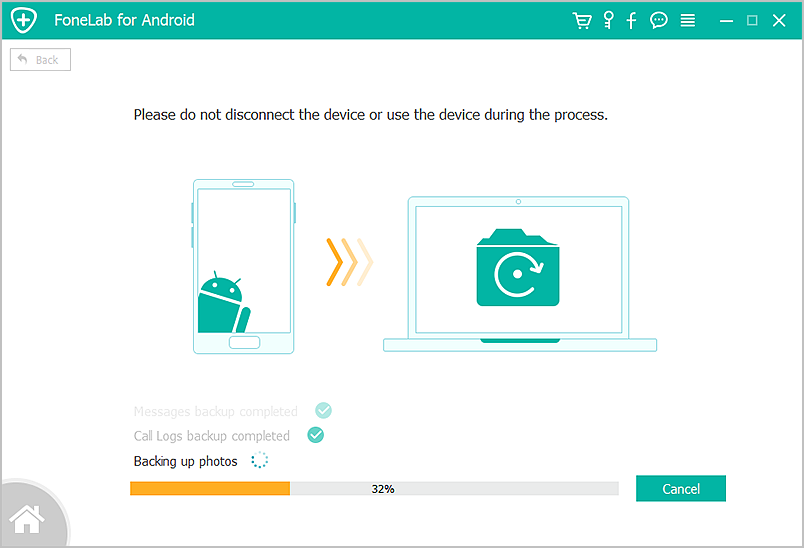
Step 4. It will take some time to finish backup, according to the amount of your photos. Please don’t disconnect your Android phone, and don’t use the device or delete any data on the phone during the backup process.
Step 5. Once the backup has been completed, you can check the backup photos by clicking the “View the backup.”
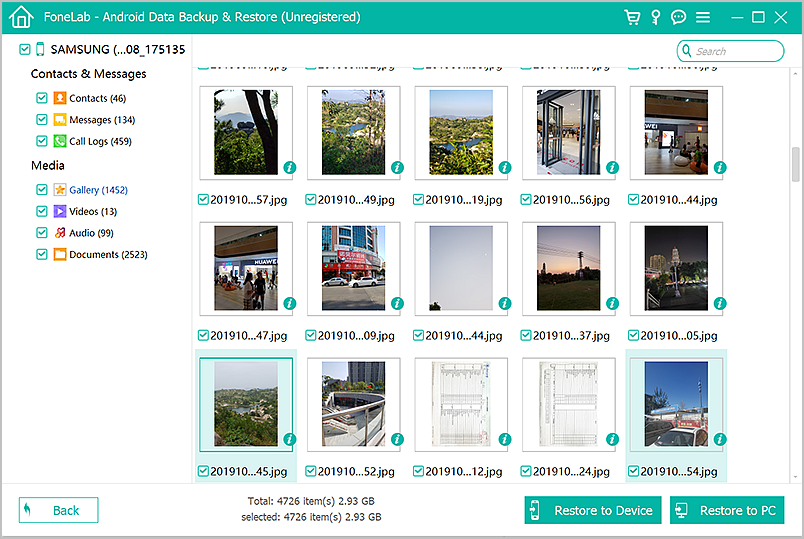
Step 1. Run this toolkit and select feature “Restore”.
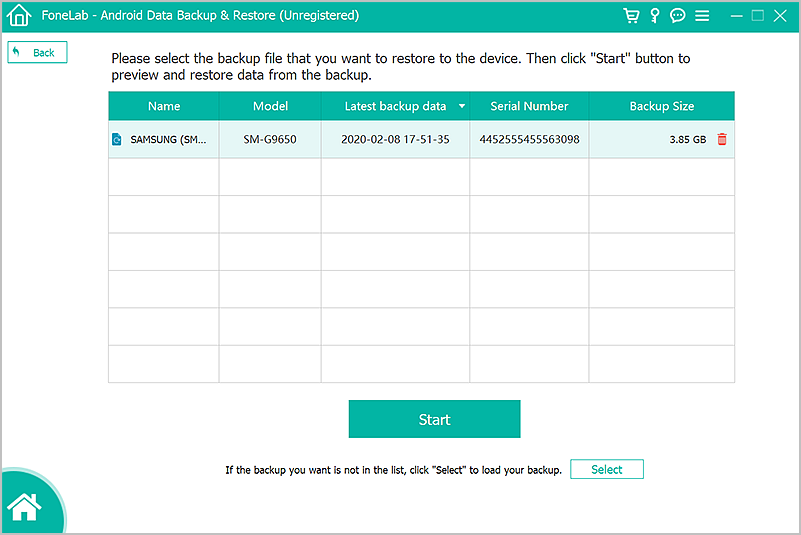
Step 2. Select a backup history from the top left corner. And select the specific photos files previewed on the main window.
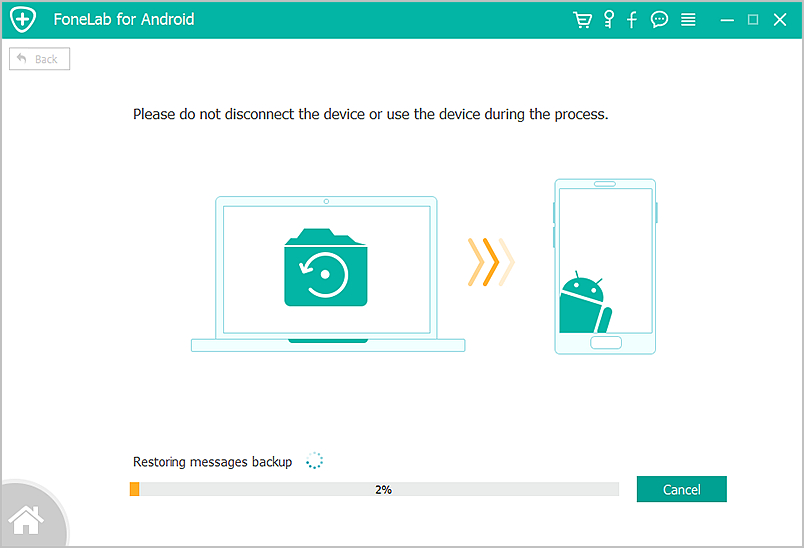
Step 3. Click on “Restore” button to restore the photos to your phone.
Download WinDownload Mac
Now all your selected photos are restored to your device. Note that even you don’t restore them to your device, these photos are stored on your computer and you can easily preview them.
Therefore, the Andorid Data Backup & Restore is worthy of your trial. Once you delete the photos in Google Trash, you cannot find it back anymore, but the Data Backup & Restore Toolkit can support you to recover the permanently lost photos from computer local backup fine.