In this article we are going to look at what NFC is, its basics, what NFC tags are and how to make use of NFC on your Android device. Potentially, this technology has the potential to make your business and/or every day-life a little bit easier.
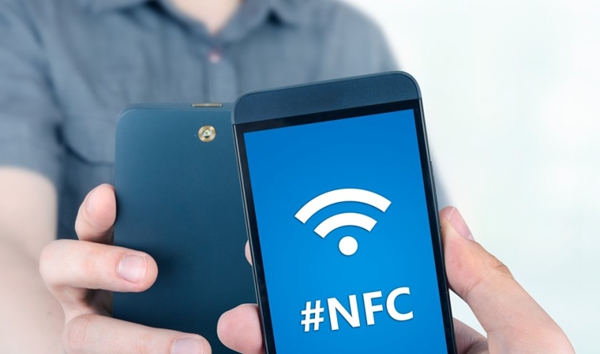
NFC or Near Field Communication allows data exchange between devices within a short range, you have to move the back of both devices around. You’re probably familiar with Bluetooth and Wi-Fi, where information is sent over radio waves. NFC works very much the same way, but is also using electromagnetic currents.
Sending information between devices has never been this simple and secure, without internet connection or having to upload the content to cloud. Pictures, videos and documents can be transferred within seconds using this new method of technical communication. Whether you want to transfer information between two smart phones, or link your website to the products you sell, it’s all made possible through NFC.
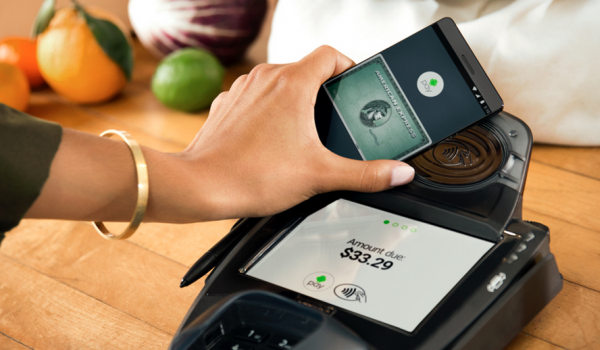
Being available for almost every smart phone, an increasing number of stores are beginning to realize its potential. NFC has increased in online payments systems (Samsung Pay, Android Pay). It’s similar to QR codes, but faster, easier and more secure. Using Android Pay can speed up your trip to the store and lighten the work load of employees. That’s win-win!
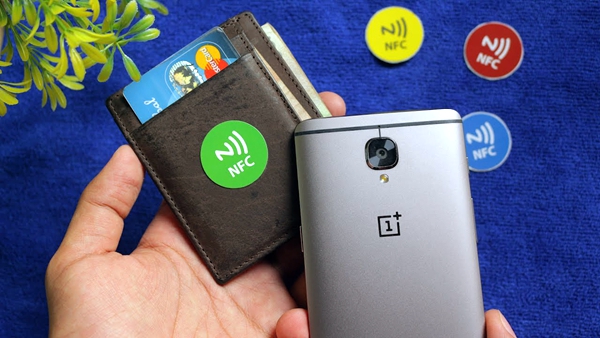
An NFC tag is a sticker or label with containing data in tiny microchips. By using a NFC reader you’re able to transfer information from the tag onto your device. URL’s, phone numbers and ID numbers are typically stored in these tags. Today, the newest NFC tags store up to approximately 130 characters, meaning you won’t be able to store documents or websites on them. Most of the time they are used as references to the data rather than containers of it.
The first thing you’ll have to do in order to use NFC on your Android device is enabling NFC.
Go to “Settings”, tap “More” and you’ll find NFC option. Slide the button to the right, and that’s it.
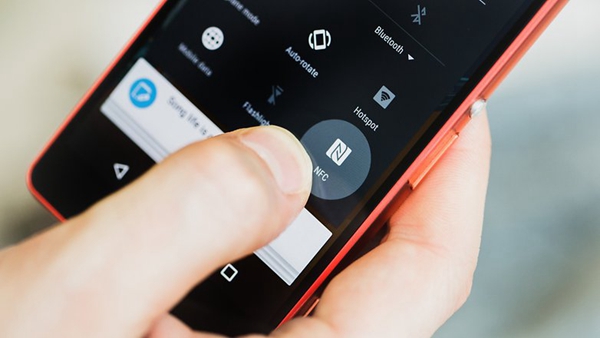
Or swipe down from the top of the screen to open the quick setting pannel and tap the NFC icon to enable NFC.
Now your Android Beam should be functioning too.
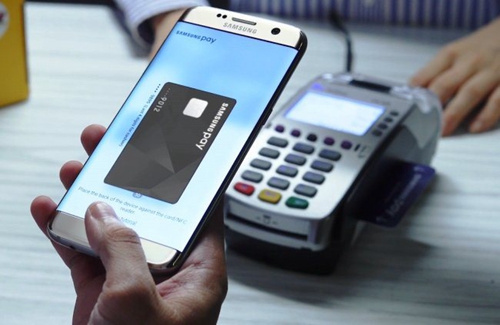
Paying with your smart phone is probably the most relevant tool made available through NFC. The first thing you’ll need to do is setting up your Android pay account, linking at least one payment method. As in every other area of use, NFC needs to be turned on. I guess you knew that already. Once your screen is unlocked, all you need to do is tapping your device onto the terminal. Within a few seconds, a blue/green check mark will appear on the screen (if this doesn’t happen, try holding your phone different way).
Note that with an outdated payment method you will see a check mark, but the cashier will receive an error. The same will happen if the store doesn’t support payments using NFC. Finally, use your bank PIN to confirm the purchase. If a signature is required, sign with your finger on the terminal.
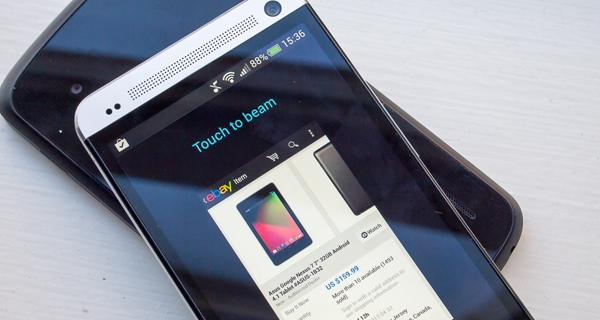
In order to share content, you’ll have to enable NFC on your second device. Now, enter your gallery, website, document or files and make sure the screen is unlocked on both devices (screens must be unlocked for NFC to function). Finally, press the devices’ backs towards each other. You’ll hear a beep once the connection is established. Information will be transferred in no time. Another beep will confirm the transfer.
Reading an NFC tag is very simple, but you’re going to need a third-party app. Trigger and NFC Tools are two of the most commonly. Once NFC is enabled on your device, tap its back on the tag.
Another opportunity is to buy fully customized NFC tags. This way you won’t have to do the encoding yourself. With the myriad of URL’s, NFC tags offer plenty of opportunities. Whether you want to stick a YouTube video to your bedroom door, put stickers in your notebook for phone numbers, it’s all doable. Be aware that NFC tags, in contrast to QR codes, do have a certain production cost. Although costs are being reduced it’s not going to be completely free.