One of the most common issues many Android phone owners complain about and regularly report are the power related problems such as an unresponsive black screen and the phone just not charging or going on altogether. Most if not all consumer reports on Android phones are usually along these lines. This article is designed to help you know how to fix Android phone won’t turn on Samsung Galaxy Moto LG Google Pixel Nexus and so on and so forth, without having to visit a professional technician. Hopefully, by the end of it all you will fully understand why the issue occurs and why it generally happens. You will also get to learn of a few troubleshooting procedures that you may have not heard of and tried before. Herein below is a step by step guide.
See Also:
How to Recover Data from Android Won’t Turn On
How to Backup Android Phone to Computer before Factory Reset
Step 1: Ensure It’s Not A Firmware or Systems Crash
Step 2: Connect Your Phone to The Charger and Charge It
Step 3: Try Powering up While in Safe Mode
Step 4: Factory Resetting in Recovery Mode
Step 5: Send the Device for Checkup, Repair or Replacement
A common hardware related issue is the system crashing. It is just as common as the not charging and not powering on problems and so you’ll need to first verify if this may be the case in your situation. Yes, nowadays most of the Android phones don’t contain a removable battery, however, you can force reboot it to rule out possibilities of the problem being a frozen systems issue.
Press the Power button and hold it for about ten seconds and if your phone has sufficient battery life left then your phone should reboot. For Samsung Galaxy you’ll need to press and hold both the Power button and Volume Down button for ten seconds.
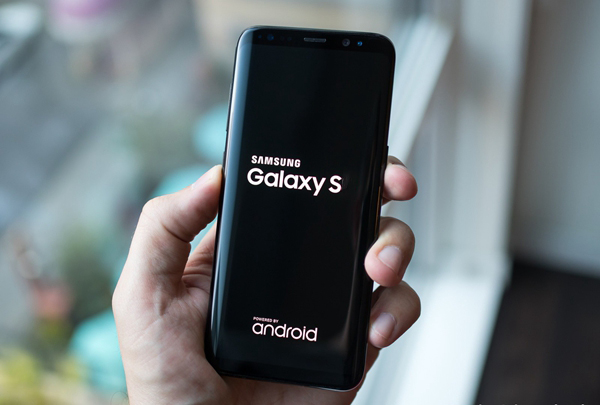
If this simple procedure works and your problem goes away then you’ll have confirmed that the problem was not a firmware issue. lucky for you. Such things like this occurs all the time so always, first and foremost, try refreshing your phone using the forced restart technique.
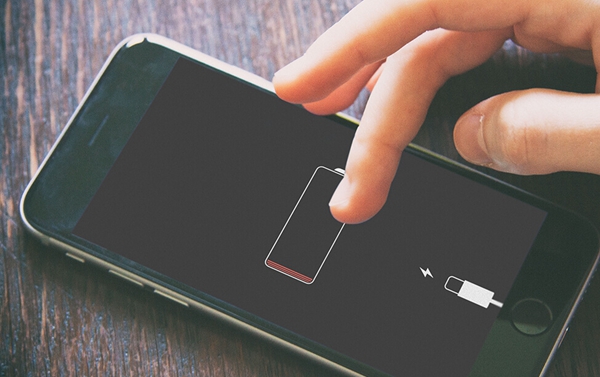
This next step is used to find out whether the problem is your Android completely drained. When your phone is plugged into a charger that has been connected to a power outlet source your phone will automatically display charge symbols to show that the battery is charging. If the charging symbols show, then let the phone charge for about ten minutes or so before turning it on. You’ll find that problems of this nature are usually rectified at this stage. However, if the phone charges but still refuses to go on, try the forced restart method while it’s still charging.
There is a high chance that some of the applications on your phone could be the sole cause of all your problems. When you boot your device up in Safe Mode, all third-party applications are disabled. If the phone can properly boot into safe mode, then the problem is from a third-party app you installed. To effectively rule out this possibility you will have to power up your Android while it’s on safe mode or, then again, at least try.
Long press the Power key until the phone’s brand logo shows up on your screen and then release. Once it appears, long press the decrease Volume button. Continue to hold, for about thirty seconds, until the word “Safe Mode” is displayed on your screen.
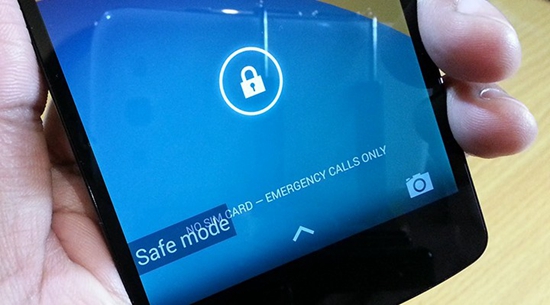
If your device, on Safe Mode, successfully powers up then you won’t be needing the help of a professional technician to fix your problem. You can actually do it yourself. All you’ll need to do now is locating the application(s) that is/are causing problems on your device and uninstall them. Don’t forget that, at this stage, if the phone successfully powered up on safe mode your problems are solved.
When you boot your device into Recovery Mode it kind of disables your Android phone’s interface which in turn sort of runs it on its bare-bones so to speak. If the problem of not powering up and going on was caused by a firmware issue, then booting up in Recovery Mode should be possible.
To start this off, turn off the device and once done, long press the decrease volume button. While doing this, long press the power key as well until the phone goes on.
The word “Start” will appear. Long press volume down until Recovery Mode is highlighted. Start recovery mode by pressing the Power key.
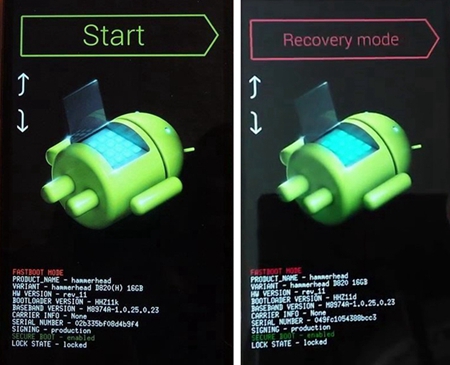
If you succeed with this, use the volume keys to select “wipe data/factory reset” option, then hit the Power button to confirm.
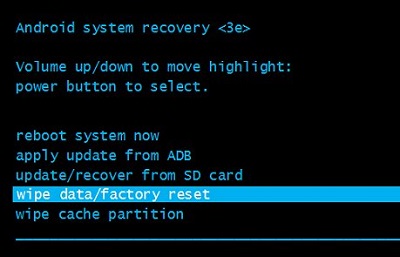
the master reset will bring all the original settings and configurations back to your phone. But keep in mind that factory reset will wipe all your phone data as well.
This happens to be as far as you can go when troubleshooting of brand new Android phones is concerned. If your issues continue beyond this stage, then it’s upon your retailer or service provider to either offer you a generous, discount or replace your device with a spanking new one altogether. However, everything will largely depend on how the technician sees the issues your phone is experiencing started. If the break down of your device was caused by liquid or physical damage then you may not be eligible for warranty cover and the only special privileges you may be entitled to is a phone of the same make.
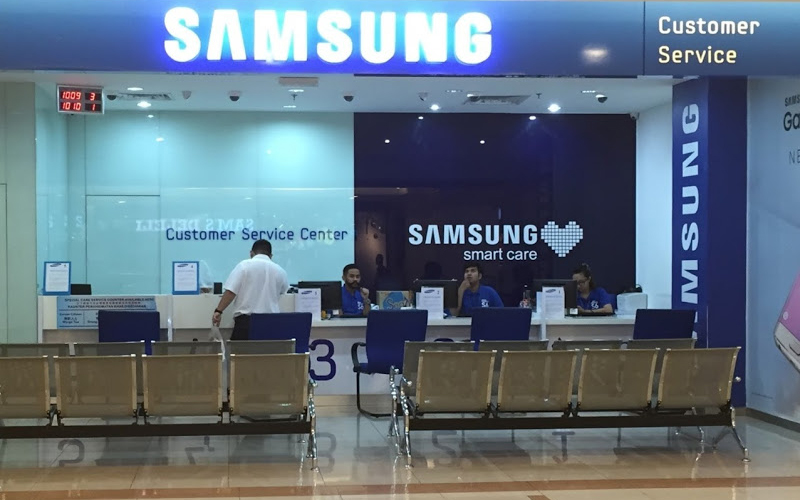
And there you have it. How you can successfully fix your Android phones by yourself without seeking the assistance of a trained mobile device technician. Save your time as well as your hard earned money by using some of these techniques available to you. These guidelines provided for above are a sure way of rectifying the problem your Samsung Galaxy, LG or Google Pixel may have of not powering on. If they fall short then you may have to seek professional advice. All in all, stay with us for more Android phone related tricks and tips.