When you do a factory reset to your Android device, all the data and settings you added will be deleted from the device. This comes in so handy when the phone needs to be sold (you don’t want to hand out your data to the next owner) or when your device has encountered system failure, software crashes or virus attacks.
Even though this superb function brings us convenience, it also brings some hidden downsides. If you accidentally factory reset your phone without back up, you stand a chance of losing all your valuable data.
I bet you don’t want to find yourself in such a situation, right? But if it ever happens, don’t despair. It is possible to recover the data after a factory reset.
Here, we will introduce two efficient and effective methods you can use for factory reset data recovery for your Android device.
How to Recover Data from Android Without Backup?
How to back up and restore Android Data
Sometimes you may perform factory reset accidentally without backup, or the backup file fails to be recognized by your phone, or some of the backup data are corrupted, etc. If this is the case, you might need to enlist the help of a professional Android Data Recovery toolkit.
Android Data Recovery toolkit is a famous Android Recovery tool, which recovers deleted, contacts, messages, photos, and many more data from Android devices.
Android Data Recovery toolkit will do you a favor. Not only will it recover lost data but also it offers a user-friendly way to backup and restore Android data.
Advantages
• You can recover erased data from Android phones caused by factory reset, mistaken deletion, forgotten password, flashing ROM, rooting, system, etc…• Permits preview and selective recovery of deleted data from Android phones.
• Recovers a wide range of data ranging from photos, videos, contacts, messages, call history, audios, WhatsApp, and documents.
• The toolkit supports all Android devices like Samsung, LG, Moto, Google Pixel, OnePlus, Xiaomi, Oppo, vivo, etc.
• It extracts data from crashed, black-screen, fixes frozen, screen-lock, virus attack on Android phones.
Note: After Factory Reset, make sure you do not operate your phone. Otherwise, the deleted files may be overwritten.
Step 1: Download and Launch toolkit
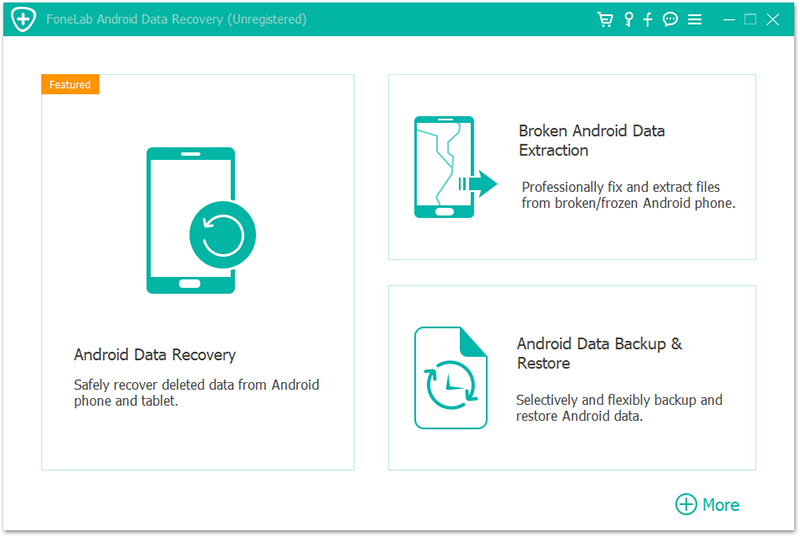
Download, install and launch the software on your computer, choose “Android Data Recovery”. Connect your Android device via USB cable. It will automatically detect your Android device.
Step 2: Enable USB debugging
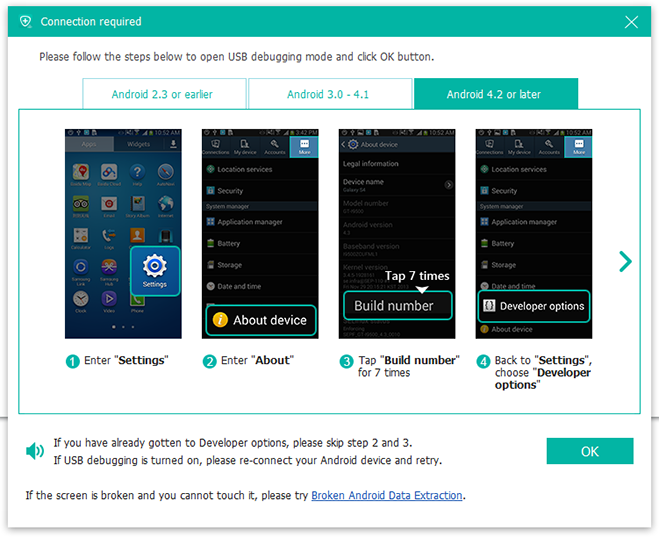
This powerful Android Data Recovery software will prompt you to enable USB debugging. This is only if you don’t open the debugging mode. It’ll automatically detect your Android version and teach you how to open the USB debugging mode on your computer. Once you are done with, the process, click the “OK” button and proceed to the next step.
Step 3: Choose the data types you want to recover
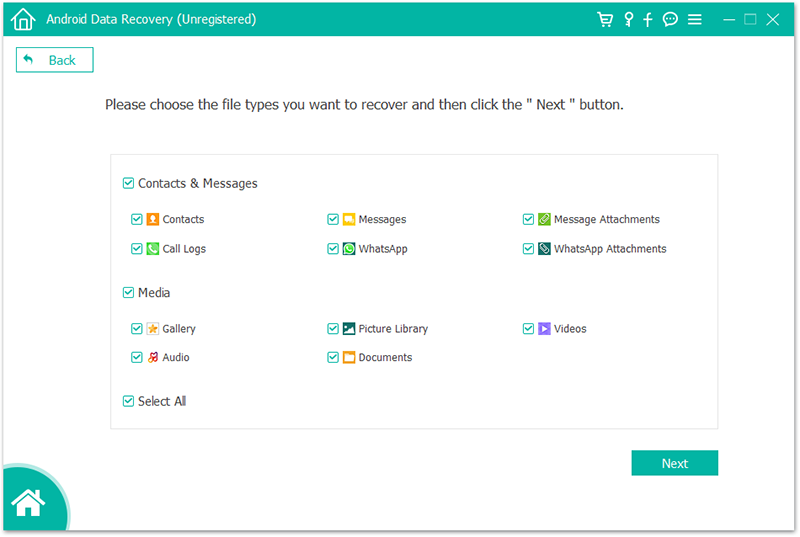
After establishing a connection, all data types will be displayed in the interface. Select the file type you wish to recover, such as messages, messages attachments, contacts, photos, etc. Click the “Next” button to scan the Android for the selected data.
Step 4: Recovery Process
Once the scanning is completed, all the data types will be listed in categories on the left control. You can check out the detailed information of each data. Preview and select the Android data you wish to recover, and then tap the “Recover” button to complete the recovering process.
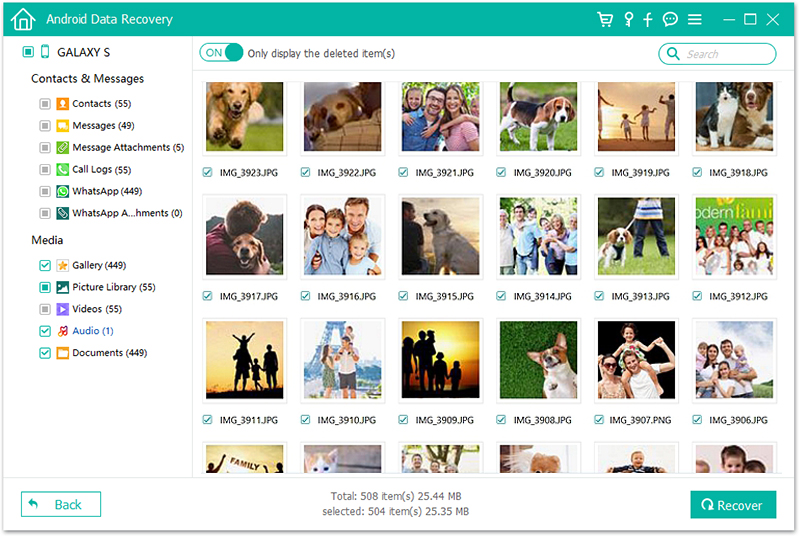
Data Restoration process by Android Data Recovery Toolkit
Step 1: On the dashboard, tap “More” on the bottom right corner and select “Android Data Backup and Restore”.
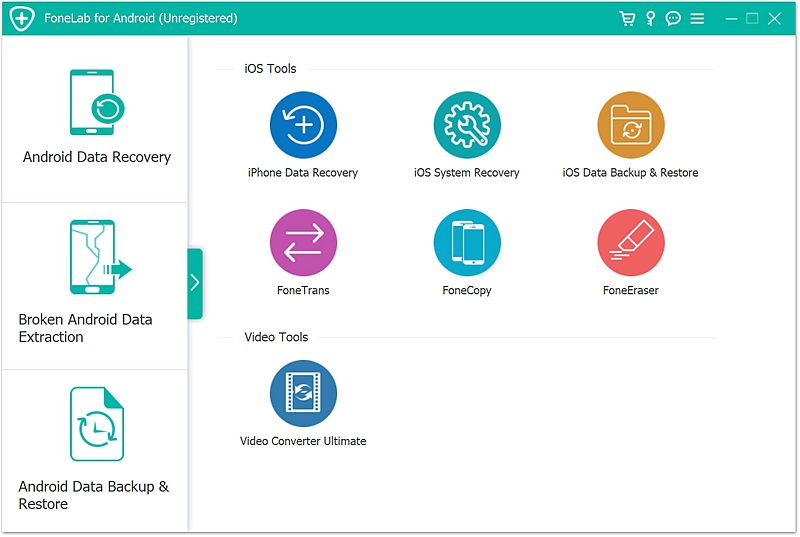
Step 2: Use a USB cable to connect your Android device to the computer. Tap “Trust” if it pops up.
Step 3: Click “Device Data Backup” on the interface.
Choose the data you want to backup, and on the bottom, tick the box to add a password if you want.
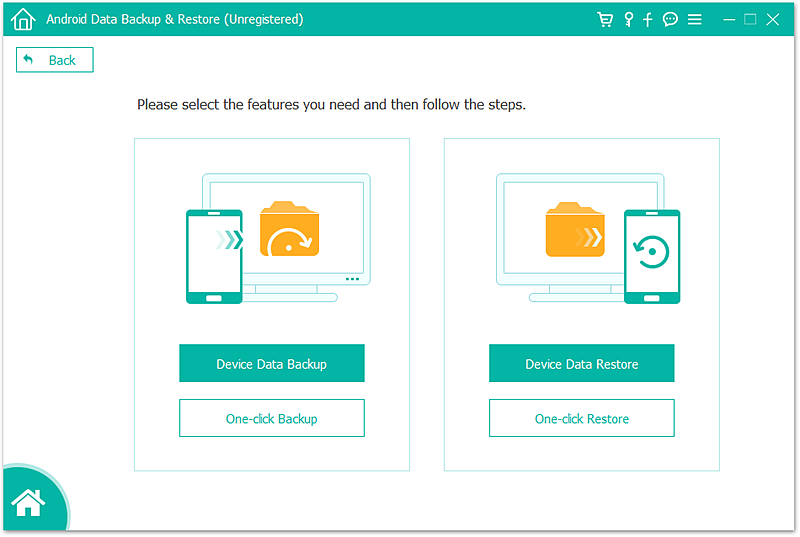
Step 4: Click “Start” and then “OK”, to select the file you want to recover to scan.
Step 5: Preview the files and click the “Recover” button to save the data to your computer.
The easiest way to backup data from Android devices to the computer is via a USB cable or a USB connection.
Step 1: Connect your Android phone to the computer via USB cable, if “Trust” appears on the device screen, click it.
Step 2: Click “MTP/Transfer files” on your device.
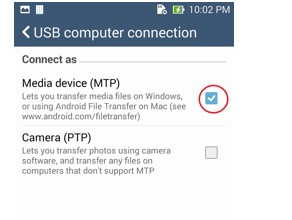
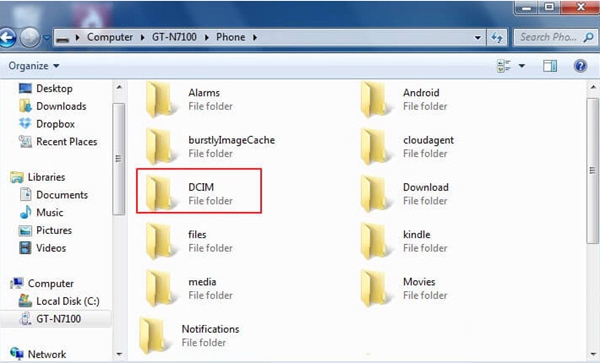
Step 3: Double – click to open the folder you wish to move.
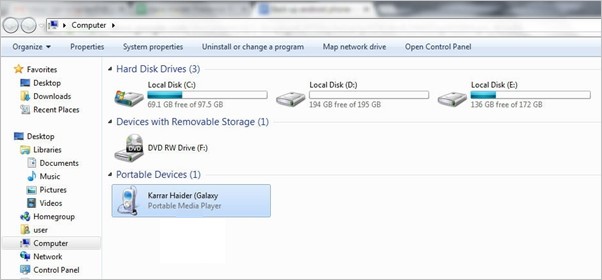
Step 4: To backup, the data to the computer, move the data from your device to the computer. To get back the data, you can just move them from the computer to your device.
Backup Android Data to Google account
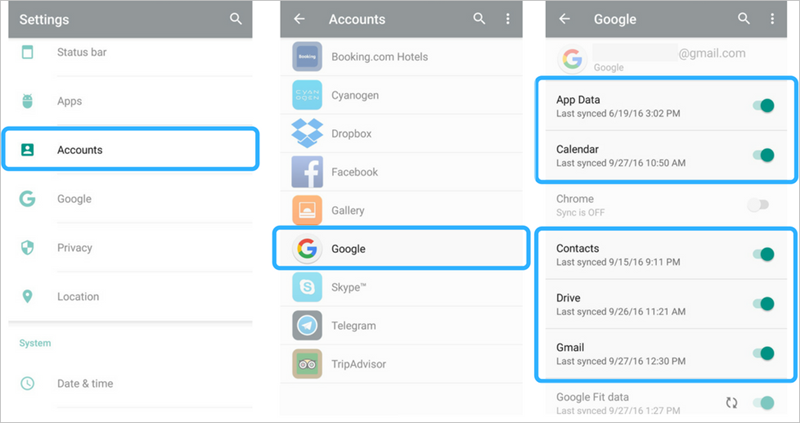
Step 1: Select “Setting” application on Android device, scroll down to the Personalization section and click “Accounts”.
Step 2: Go to Accounts, tap “Google” and select Google Email address.
Step 3: Log in your Gmail account. If you don’t have one, you can create it.
Step 4: A list of data types you can back up to your Google account will be displayed, tick the boxes alongside the data type you want to back up.
Step 5: Click “More” selection at the top right corner of the screen and tap “Sync Now”.
If you add Google Account to a phone that has already been set up, data that was previously backed up for that Google account gets put onto the phone.
Backup Android Data (Photos) to Google Photos
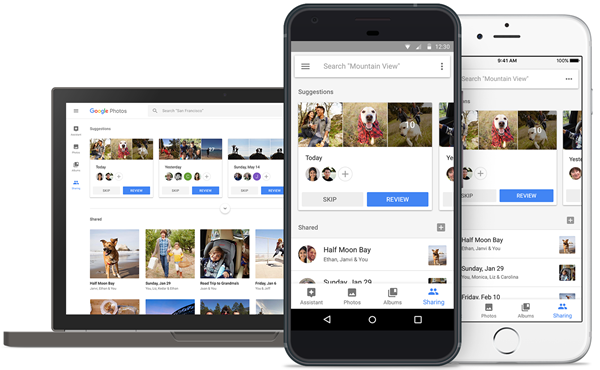
Google photos is a photo storage and sharing platform. It gives users, free unlimited storage for photos and videos.
Step 1: Open the Google Photos app on your Android device. If you don’t have the app, you can download it on Google Play.
Step 2: Log in to your Google account.
Step 3: Click “Menu” on the top left corner (a three-line icon). Select” settings” > “Back up & sync”.
Step 4: Finally turn the backup process on.
Additionally, Google has another file hosting service known as google drive to save data for you.
