The introduction of Samsung Galaxy Note8/S8 into the market has made people upgrade to the use of this device. Its introduction has made things shaken up as it comes with something that is completely new. Samsung Galaxy S8 Plus does not have front Home buttons, and therefore the procedure for recovery mode for this type of phone is completely different. There should be no worry for the users of this phone since the recovery procedure has been well written to guide the user. All the steps are listed for the access of the recovery partition on the Galaxy Note8/S8. The role of this task is to explain how
to boot into Samsung Recovery Mode and the steps involved in doing the process. The task as well elucidates how to use Samsung Recovery Mode.
Part 1: What is Recovery Mode and How to Use?
Part 2: How to Enter the Recovery Mode
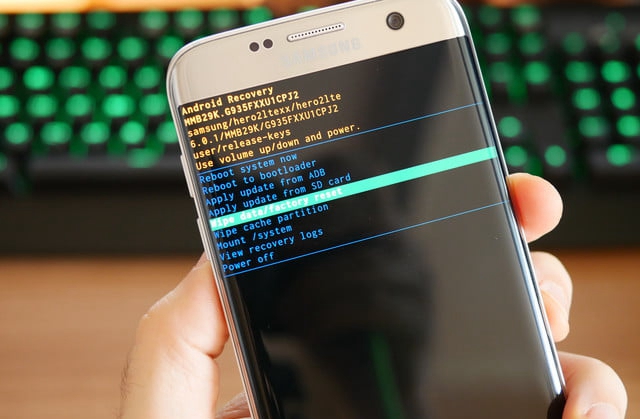
Every Android phone has the recovery partition which acts as a backdoor to maintenance as well as an avenue for fixing certain problems. Like other Samsung Galaxy phones, the Galaxy Note8/S8 has a built-in recovery mode which can be accessed by the users of this device. There is access to a multiple of different features in the recovery mode which ranges from the installation of updates to revert to stock.
Before doing the booting into the recovery mode of the device, it is very necessary to understand what recovery mode is.
Applying Update
– Apply update from SD card
– Apply update from ADB
Applying update is a very helpful and important feature since all the system update file being transferred to SD card on the phone uses this option when getting installed.
With this feature, the updates can be attained manually and then the function can be used to manually apply them as well and hence the wait that is associated with the update arriving through the system is skipped. Furthermore, using the custom recovery(CWM/TWRP) you can install any custom ROM.
Wipe options
– Wipe data/factory reset
– Wipe cache partition
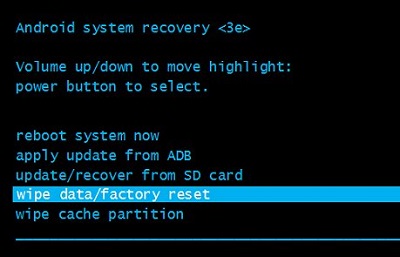
These functions are to completely wipe the phone except for the system. Once this function is performed, the phone will boot into the setup wizard. The wizard gives greetings when booting of the phone is done for the very first time and is the reason factory reset is given. The temporary files in the system are removed by the cache feature since they might be using up the internal storage space.
Note: The problem here which is a risk of the loss of data is that the wipe mode does not have the revert option. The wipe options lead to permanent removal of data. So make a backup of your important data before wiping data or factory reset.
Custom Recovery
Custom recoveries are found built on top of the stock recoveries which mean that all the stock recoveries will be there. The enhancement of capabilities is what brings the difference. CWM(ClockWorkMod) and TWRP(Team Win Recovery Program) is examples of custom recovery that makes it possible for the creation of system-wide backups, permission fixing, formatting each partition and much more. The access to the custom recovery will remain the same even if it is installed.
Methods used to enter recovery mode in Samsung Galaxy
Method 1: By hardware buttons
The steps involved are follows
Step 1: turn off the phone
Step 2: press and hold Power + Volume Up + Bixby Button (press Home Button for Samsung S7 and earlier) all at the same time for a few seconds.
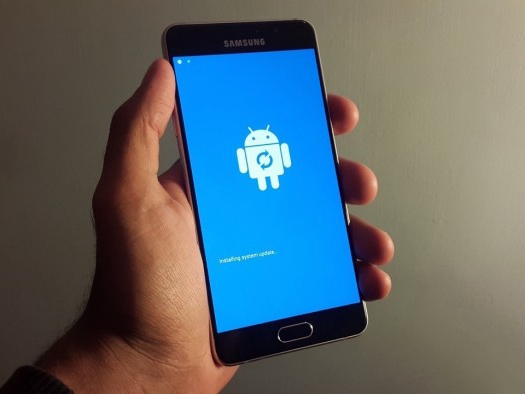
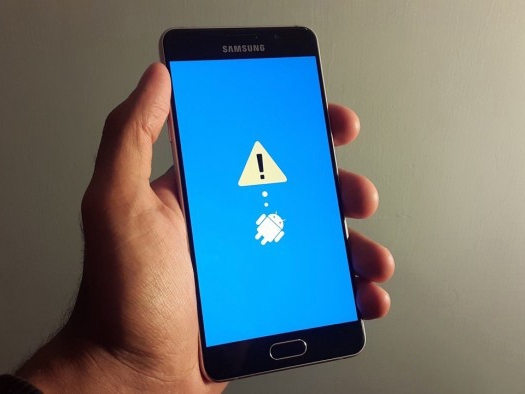
Step 3: the blue screen should be seen after a few seconds with an Android bot and a message saying “Installing software update.”
Step 4: Another blue screen will appear after 10 seconds having the “!” logo.
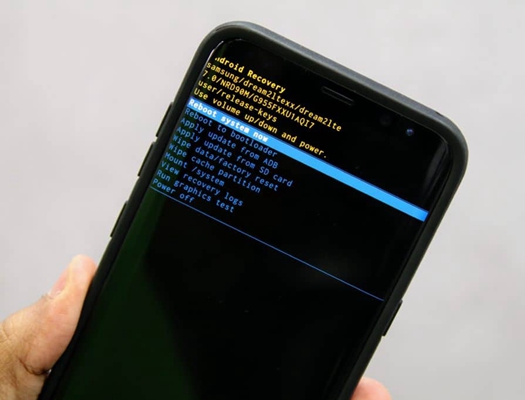
Step 5: presentation of the recovery mode menu is done at this step on the Samsung Galaxy S8 Plus. Navigation around the recovery mode can now be done using the volume and power buttons.
Method 2: By ADB on windows
The steps involved are follows
Step 1: USB drivers/ ADB drivers should be installed and configuration of ADB is done on your computer.
Step 2: the phone is then connected to the PC using a USB cable
Step 3: Navigate to the directory of the android-sdk-windows command prompt:
On computer, press Shift + Right > click anywhere in the folder > Open Command Prompt.
Step 4: type in the following command and press enter
adb reboot recovery
Step 5: the phone will then turn OFF and then boot into the recovery mode
Method 3: By ADB on Mac OS X
The steps involved are follows
Step 1: USB drivers/ ADB drivers should be installed in the phone and configuration of ADB is done on your computer.
Step 2: connection of the phone with Mac will then be made using the USB cable.
Step 3: terminal app is then opened on the Mac, and a command given below is to be entered and pressing enter.
/<PATH>/android-sdk-macosx/platform-tools/adb reboot recovery
Step 4: the phone will then turn OFF and then boot into the Recovery Mode.
In conclusion, the Samsung Galaxy Note8/S8 that has been introduced has amazing features which makes it possible for people to perform various tasks using the device. Unlike other phones Samsung Galaxy S8 Plus, its recovery mode is built in which gives access to various other features ranging from installation of updates to revert to stock. The booting of the device is easier since a new and updated procedure is available to do the process and therefore becomes the best device for use.