Although most users never attempt to fix Android technological problems (Android bricked, death, phone keep restarting, App flashback) it is often possible. For users of most makes and models of Android phone, it isn’t as complicated as you might first imagine fixing a range of problems. When the phone becomes unresponsive or is affected by mal-ware, entering recovery mode to gain root access to the operating system can help fix the problem. This can sometimes be the only way to initiate a factory reset if, for example, the screen has frozen. In this article we will break-down exactly how to enter recovery mode on four popular Android makes to gain root access.
Note: Before enter recovery mode, we suggest you make a backup of your Android phone data firstly to avoid data loss.
1. How to Enter Recovery Mode on Android
– Samsung
– LG
– Moto
– Google Pixel/Nexus
2. How to Fix Android Stuck in Recovery Mode
3. What Can You Do in Recovery Mode
1: Power off your device, press the ‘Power’ key for several seconds and choose ‘Power off’.
2: Boot into Recovery mode
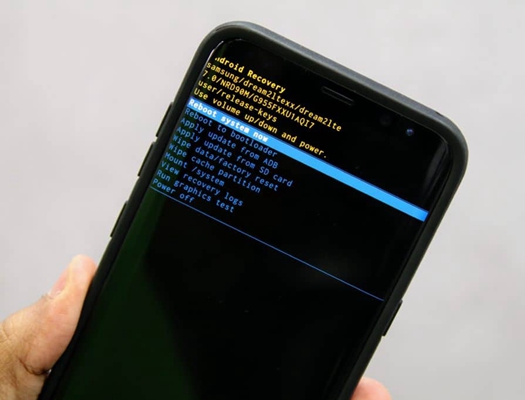
For the latest Samsung Galaxy without Home button
For earlier Samsung device with Home button (Samsung Galaxy S7/Note 5 and earlier )
Press and hold down the Power button + Volume Up button + Home button together. When the ‘installing system update’ appear on the screen, release all three keys.
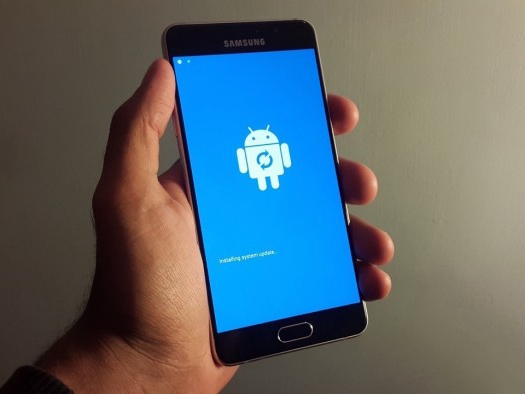
Not system update will install and 30 seconds later it will display a big “!” icon.
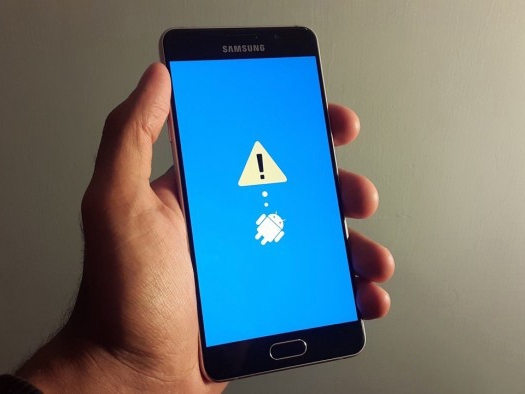
Wait for about 1 minute and your Samsung device will enter recovery mode.
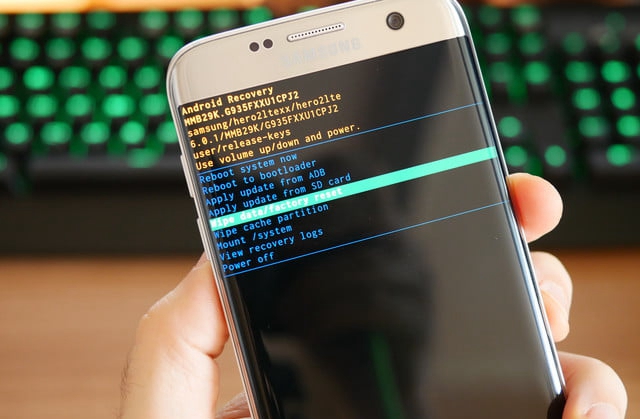
4: A list of recovery mode options will now be displayed on the screen. Use the ‘Volume up’ and ‘Volume down’ button to move to the option required. Then use the ‘Power’ key to select the option.
1: Hold down the ‘Power’ key until the LG device turns off.
2: Press down and hold the ‘Power’ key and the ‘Volume down’ key simultaneously
3: The LG logo will be displayed. Release the ‘Power’ key and then press the ‘Power’ key once more. Do not let go of the ‘Volume down’ key at any point during this step.
4: When the menu is displayed you can use the ‘Volume up’ and ‘Volume down’ keys to go to an option on the list. Use the ‘Power’ key to choose the option required. Everything should now be working fine for any of the LG models mentioned up here.
1: Press the ‘Power’ key for several seconds until the phone turns off.
2: Press and hold the ‘Power’ key and ‘Volume down’ key at the same time. The phone will turn on again with ‘Start’ screen appear.
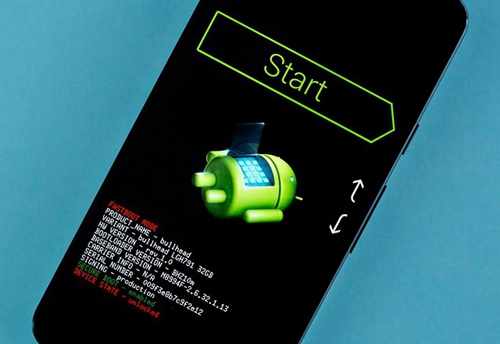
3: Use the ‘Volume down’ key to go to Recovery Mode.
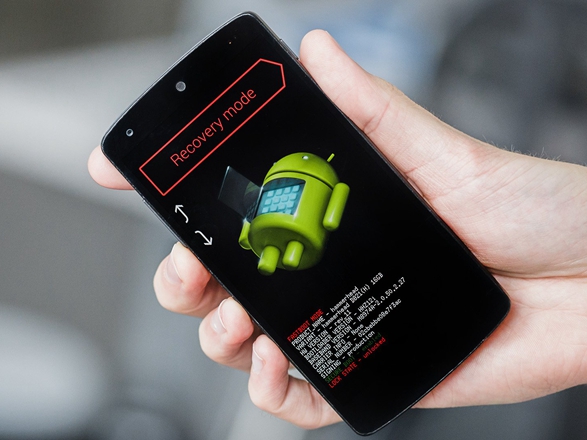
4: Select Recovery Mode using the ‘Power’ key. You are now good to go.
1: Press the ‘Power’ key on your phone and once prompted hit ‘Power off’. Should the phone be frozen, continue to press the ‘Power’ key until the phone shuts down.
2: Press both the ‘Power’ key and ‘Volume down’ key simultaneously. The Android symbol, a list of information about the make and model, and ‘Start’ will be displayed at the top of the screen.

3: By using the ‘Volume up’ and ‘Volume down’ keys you can now scroll up and down through the list of options in the operating system. You can select an option using the ‘Power’ key. Now use the ‘Volume’ keys to do down two on the list and you will find ‘Recovery Mode’ in red lettering top right-hand side. Press ‘Power’ key to enter Recovery mode to gain root access.

4: You will see first the Google logo in white, then the Android logo on its back. The phrase ‘No Command’ will appear beneath this logo.

5: Hold down both the ‘Power’ key and the ‘Volume up’ key at the same time for 3 seconds or more, then release the ‘Volume up’ key but retain pressure on the ‘Power’ key.
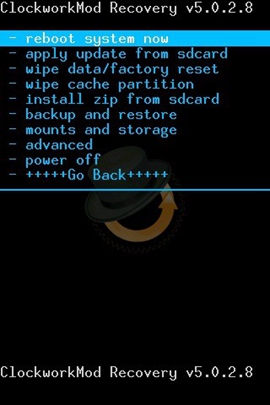
6: The Android systems recovery list will be displayed at the top of the screen. Use the ‘Volume up’ and ‘Volume down’ keys to scroll through the options and the ‘Power’ key to choose the one needed.
If you are stuck in recovery mode and can’t boot into normal system, we recommend the FORecovery – Android Repair toolkit to fix it. This advanced toolkit is so easy to use, selects your device model, automatically downloads the firmware to repair your device’s damaged system file, and get it back to normal in just 10 minutes.
1. Launch the software, connect your Android phone to computer.
2. In the software window, select your device brand, model, country, carrier. Next click on “Download Firmware” button.
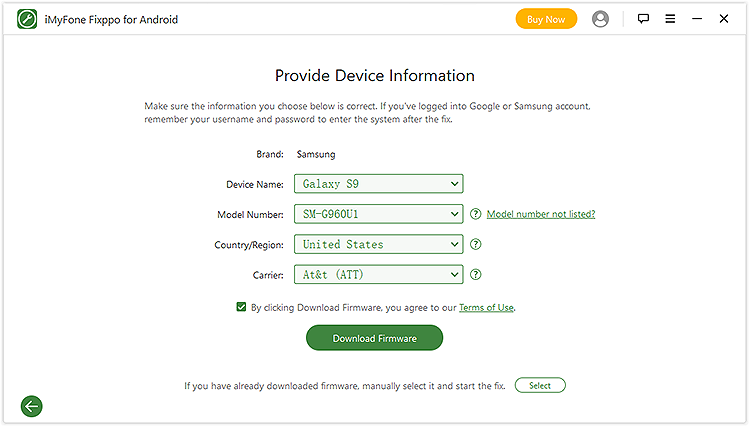
3. The software starts downloading the firmware for your Android device model.
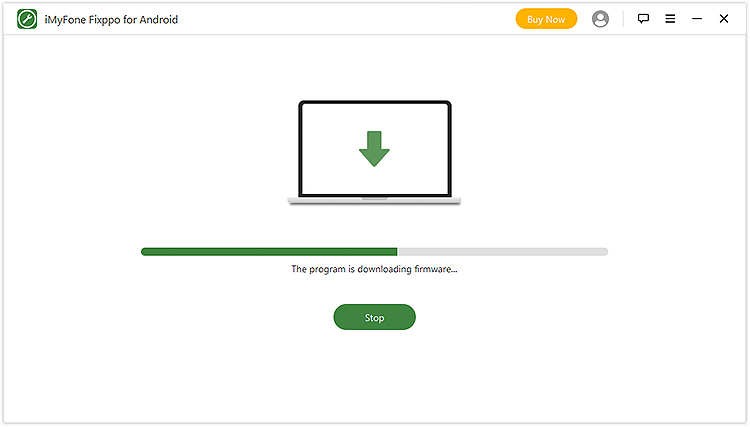
4. After downloading, you need to boot your Android device into Download mode manually. Follow the on-screen instructions.
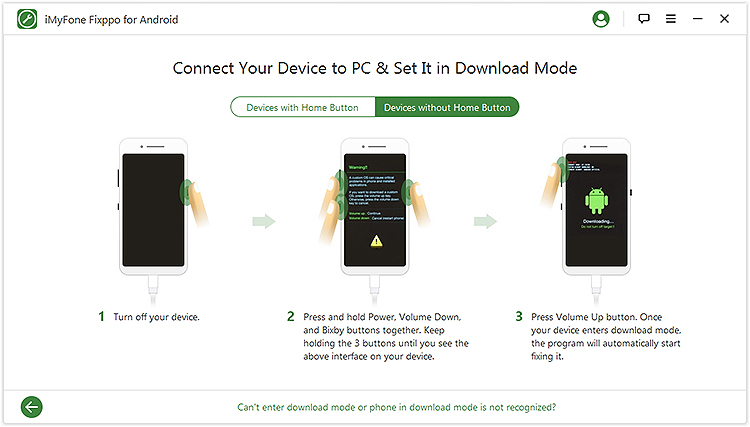
5. Once the software detects your phone in Download mode, it will start repairing corrupted files systems of your Android device.
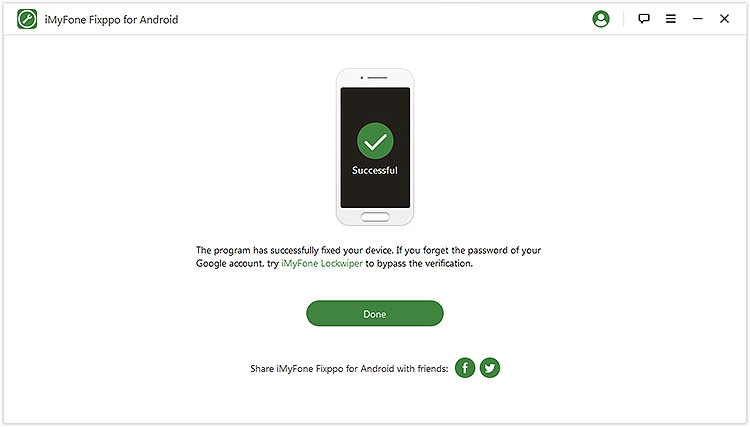
After a moment, your Android device will get back to normal.
Once you have your Android smartphone in Recovery Mode, there are a number of useful things that you can do to fix problems. The list of options displayed on each make and model of phone may be different, but there are standard options to choose, which are always there on every device.
1: Reboot System Now – This option restarts the device again without changes. It is useful if the phone has ceased to work, but you don’t think there are any corruptions or mal-ware on the operating system.
2: Apply update from sd card/install zip from sd card – This option allows you update your Android system manually. Download and save the firmware to sd card’s root directory and insert the sd card into your phone, then use this option to select and install the firmware. Keep in mind that install custom recovery mode first if you want to flash a custom ROM.
3: Wipe Data/Factory Reset – This option will wipe all the user data stored on the phone’s internal storage, including photographs, video, music, applications (everything). It will then reset the phone to factory setting. This option will also wipe cache partition.
4: Wipe Cache Partition – This option will wipe all temporary operating system data (mainly application installs). You can delete cache partitions and not lose your personal data or phone settings. This is the most important option for users. It is risk free and can solve most problems without the loss of personal data or chosen settings on the phone.
Just having the knowledge to affect a simple operation as this on your Android phone can save you a lot of time and money if problems arise. In 9 out of 10 cases this is exactly the procedure a technician in a phone shop will do to get the phone unfrozen or working again if something goes wrong. Don’t seek help with a smartphone problem until you’ve tried the method above first to fix most physical problems with your phone.