Have you ever wanted total customisation control of your Android device and change the very make-up of your operating system? If the answer is yes, then read on through this tutorial and we will explain, in detail, what software you need to get the job done and how to go about gaining root access on your Android device.
Part 1 – What exactly is root access?
Part 2 – How to Gain Root Access on Android Using Android Root Toolkit
Part 3 – How to Gain Root Access Through KingoRoot
Part 4 – How to Gain Root Access Using KingRoot Software
Part 5 – How to Gain Root Access Using iRoot on Your PC
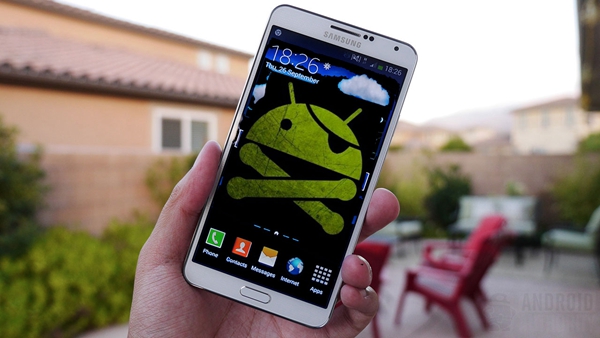
The term “root access” is used to explain the process of customising and modifying your Android operating system through software and gaining total access to the factory set operating system. This comes in handy when you want to eliminate any restrictions that have put on your phone by either the manufacturer or the mobile phone carrier.
There are a few things to consider before going down the road of gaining root access and although these points sound serious, the benefits of having total access to your devices features are well worth the potential risk. One thing to consider is that when you go through the process of gaining root access, your phones warranty will be avoided. In addition to this, when you gain root access there is a small possibility that the process will “brick” your phone rendering it useless in all forms. This can be avoided by following this tutorial to the letter and only using the recommended root access software.
Let’s get started…
The first method available to root your Android phone is through a well-known and respected software platform know as Android Root toolkit. This software is compatible with Windows 10/Mac OS and supports over 7000 different Android devices. This software is safe, reliable and produces the highest root success rate in the business.
Download WinDownload Mac
Note: Before you get started, make sure that your phone is fully charged, you back up all data on your Android device and you have a strong and stable internet connection to maximise the chances of a successful root first time around.
Step 1. Install and launch the Android Root toolkit.
Step 2. Once the toolkit screen is available, simply select “Root” feature from the dashboard.
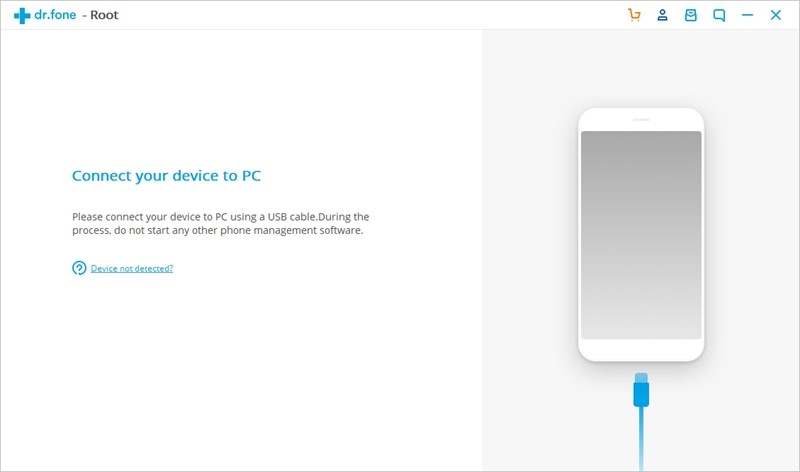
Step 3. Use a USB cable to connect the phone to your PC and the Root toolkit software will automatically recognize your phone and prompt you to connect.
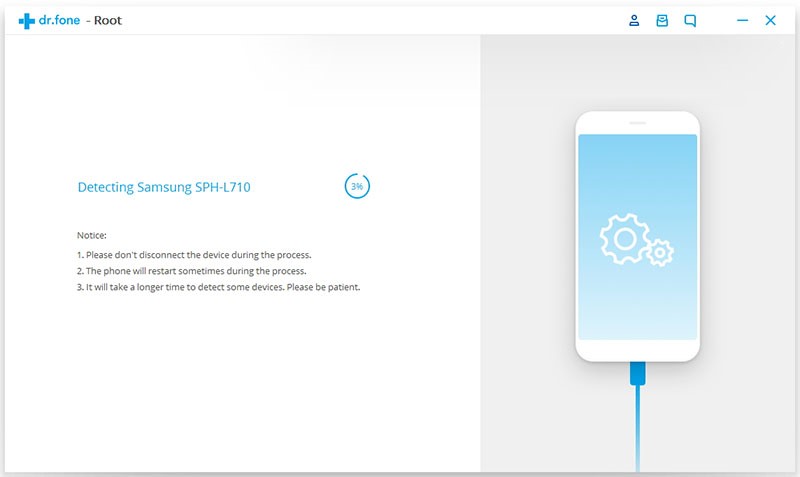
Step 4. Click start to continue and the Root toolkit will detect the phone and prompt you to click “Root Now” once the software is ready to work.
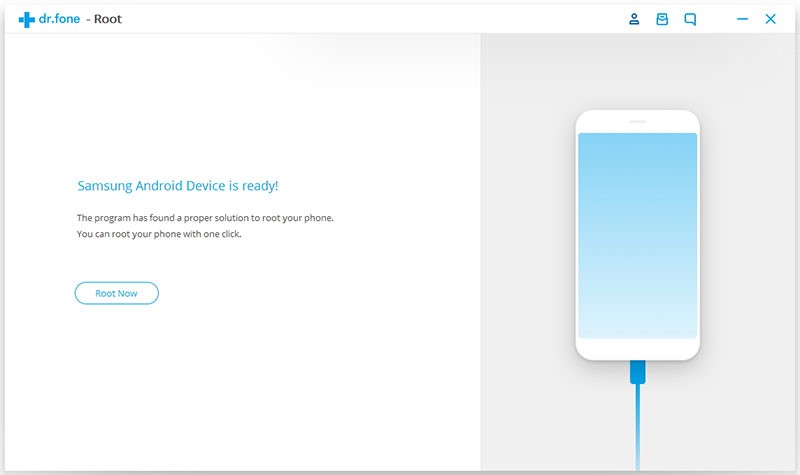
Step 5. Wait patiently as the Android Root toolkit does its magic and after a few minutes, your device will have been successfully rooted and you are ready to experience the sheer power of root access.
Step 1. Download the free KingoRoot software which can be easily found here. Once the software is downloaded, install and launch KingoRoot for PC.
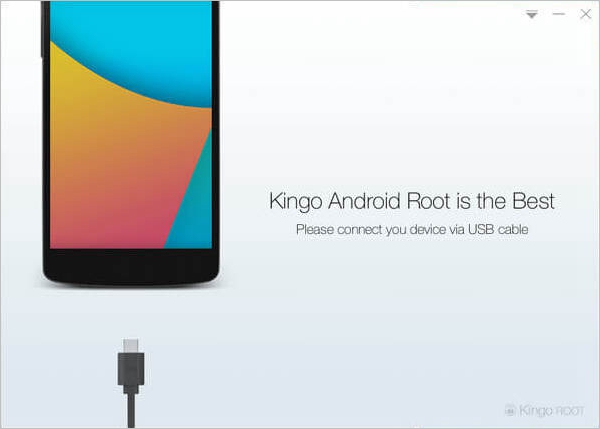
Step 2. Connect your Android device to your PC through the USB cable and the KingoRoot software will scan and detect your device.
If you haven’t already installed the driver, the program will automatically install the driver for you. When all the above is finished, the program will make a connection with your device and prepare for rooting.
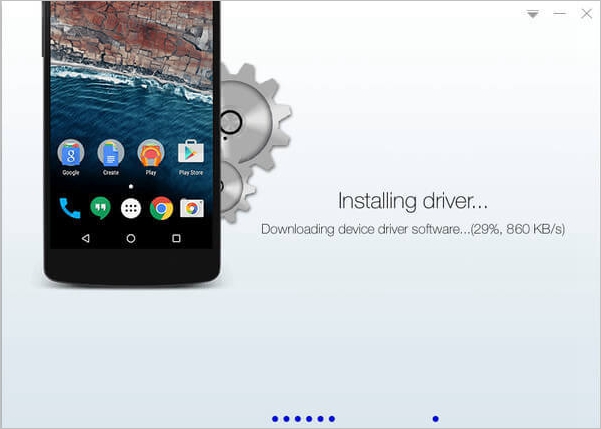
Step 3. Enable “USB Debugging” through the main screen of KingoRoot and follow the instructions laid out by KingoRoot. The device model name and root status will appear on the program and you are almost ready to go at this point.
Step 4. Simply click “Root” to get the party started and sit back for a few minutes while everything starts working. Rooting times will vary depending on connection and model of Android phone so don’t lose your patience.
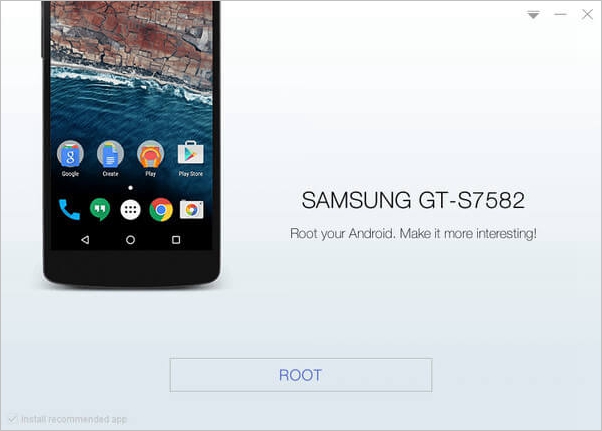
Step 5. Tadaaa!! You will get a message saying that your Root was successful and now you can safely remove the USB cable and start to work on making your Android device your own. If you are feeling flush and would like to donate anything towards the work that KingoRoot does, feel free to do so at this point.

Step 1. Download a safe and stable version of KingRoot for PC which can be found here.
Step 2. Once the download has finished, install and launch the KingRoot software on your PC
Step 3. Plug in your fully charged Android phone and follow the on-screen prompt to allow USB Debugging which will help to ensure first time rooting success.
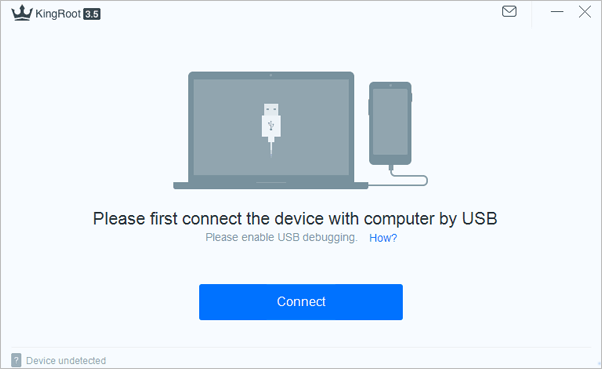
Step 4. The KingRoot program will now scan and detect your phone for rooting. If your device is compatible, you will receive a “connection successful” message on your PC.
Step 5. KingRoot will be able to detect if the device has been rooted before and if not, you will be able to start the process by simply clicking the “Start to Root” button.
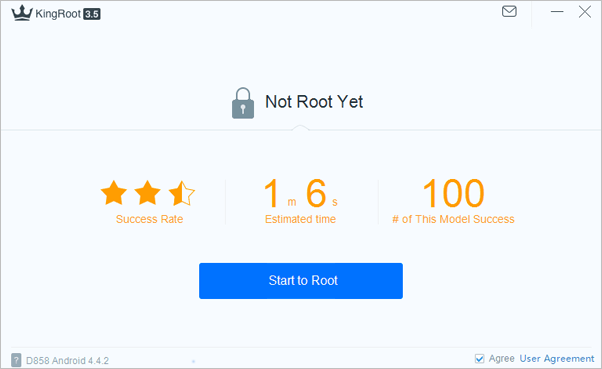
Step 6. Your device will begin to root and the device will switch off and come back on again which is normal so don’t panic. You will see a message saying, “Successfully Gained Root” (which just sounds awesome) and you are now ready to take over the world.
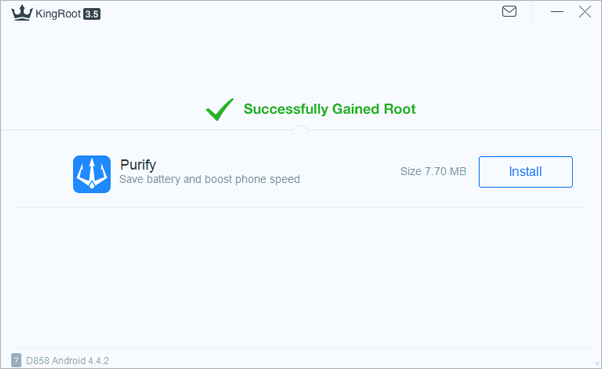
That’s it! You are now ready to enjoy full control of your device and from there, the possibilities are endless.
Step 1. Simply download the safe and secure iRoot software here and install the program onto your desktop. When the program has finished downloading, just click the program button to install and launch the iRoot Software.
Step 2. Plug in your phone using the stock USB cable that came with your phone. This will bring up a screen asking permission to enable USB debugging and just grant permission and click done.
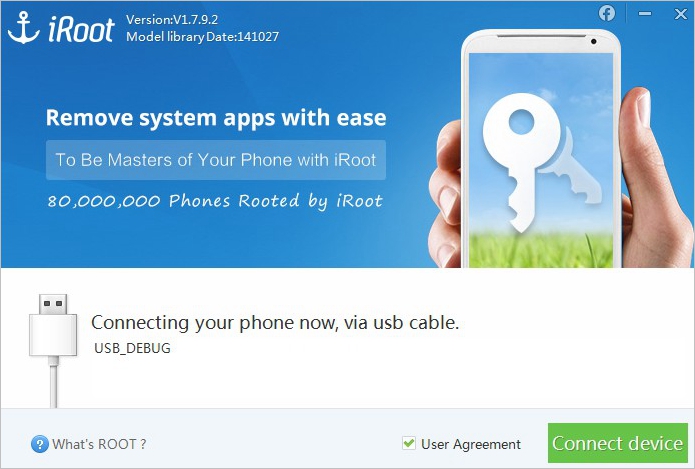
Step 3. As soon as your phone has been detected and compatibility confirmed, you will see the interface present you with the option of rooting. Click the “Root” button to get things moving.
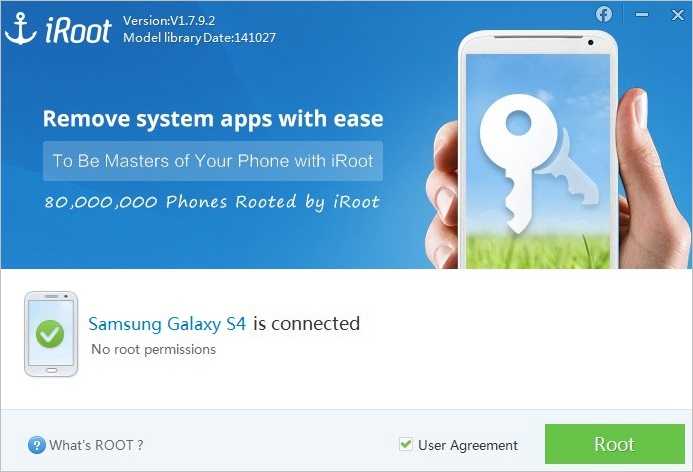 Step 4. After a few minutes, the device will be successfully rooted and you can safely remove the USB cable. From there, you are in the possession of a fully unlocked Android device which you can fully control and customise.
 So, there you have it. These above options are all great ideas when it comes to breaking down the restrictions placed on your device from the manufacturer. You now have full root access and the only question now is what are you going to do with all the options at your fingertips?