Moto G is one of the most widely used smartphones Motorola has ever made. It is full of incredibly useful features that will allow you to gain the level of functionality that modern life requires. Of course, to properly use its features and take full advantage of the incredible processing power the Moto G has you are going to need to root and jailbreak it. There are plenty of simple methods to allow even a layman to unlock full use of their device with only a few basic pieces of software. Doing so carelessly can break your system, so be sure to follow one of these simple step by step guides to gain full use of your device. Jailbreaking does void the warranty of the device, and contains a possibility of bricking your device. So, root with care.

Part 1: Precautions and Prerequisites Before Jailbreak
Part 2: Root Moto G via Android Root Toolkit Fast and Easily
Part 3. Root Moto G via Kingo Root with PC
Part 4. Root Moto G via Kingo Root APK without PC
These are things that must be done before you attempt your jailbreak. This will allow you to ensure you don’t corrupt any files or lose any of your user data. In situations like this caution is king, so take the time to set yourself up for success.
1. Make sure you have a backup of your Android phone data. Performing the root will result in your device losing all user data.
2. Charge your battery to more than 50% before the commencement of the root. The entire attempt may be ruined if you lose power during the process.
3. The USB Debugging option must be enabled. To do so go to ‘Settings’, scroll down to developer options, and turn on “USB Debugging”.
Note: If you can’t find the “developer options”, go to about phone > software info > tap build number 7 times rapidly, go back and see the “developer options”.
4. The Bootloader of your device should be unlocked. You can do that from the official Motorola website.
If you unlock the bootloader successfully, you should see an unlock icon during boot.

5. Be sure to use a reliable rooting software. This will make sure your device will not be harmed.
6. Install all the essential drivers to your computer. You can do this form the official Motorola site.
7. There are some antivirus and firewall settings that disable the process of rooting. To root your Moto G, make sure you have disabled the firewall.
Android Root is a one click application to root your Motorola device. It is a powerful application with an interactive interface. One of the best things about it is that if you’ve followed the prerequisites it’s completely safe to use. Here is a quick step by step guide on how to jailbreak a Motorola G (Moto G5/G5S/G5 Plus/G4/G4 Plus/G4 Play).
Download WinDownload Mac
Detailed Steps
Step 1. In order to start the process, download Android Root software and try the free version.
Step 2. Open the software and Simply click the ‘Root’ feature from the interface.
Step 3. Connect your Moto G to your PC system with a USB cable.
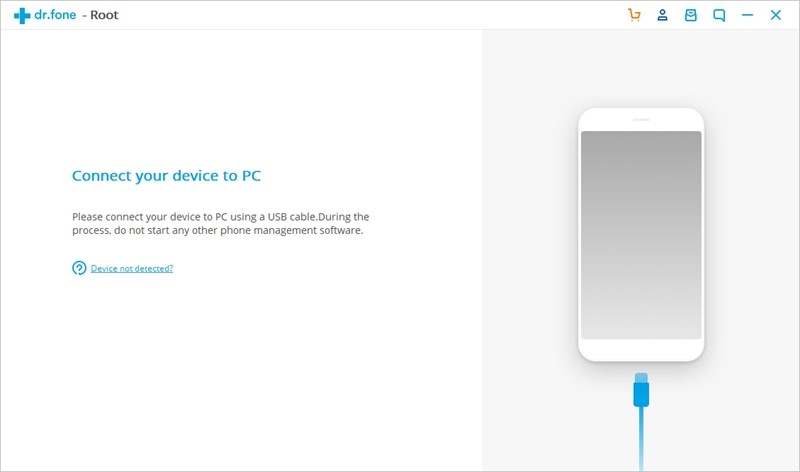
Step 4. The software will automatically recognize your device and give you a prompt about the specifications. Continue the process.
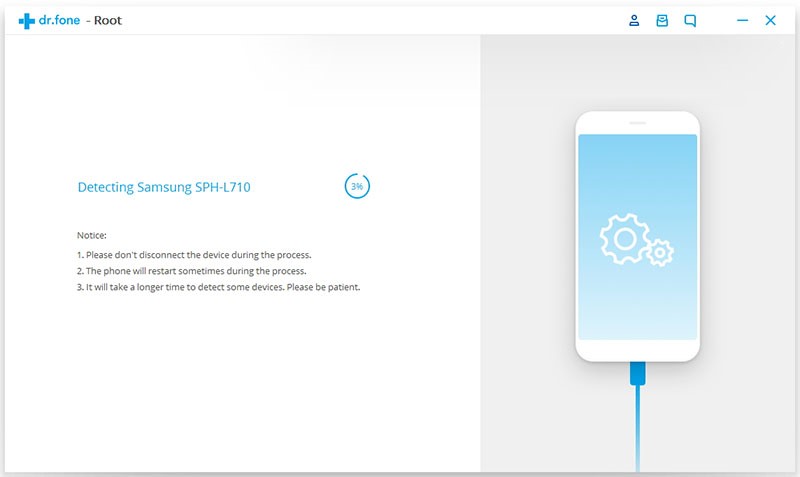
Step 5. Click the ‘Root now’, option when prompted.
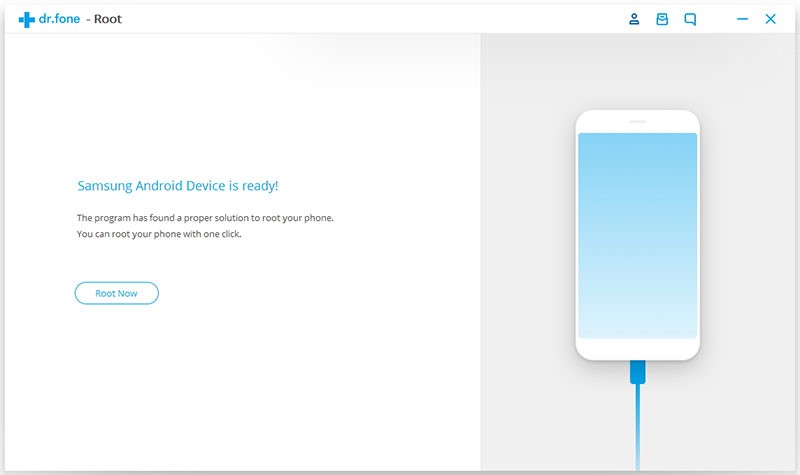
Step 6. Click the ‘Agree’ option and then wait for the message of success.
Kingo Root offers a one click root tool for almost any Android device. It is generally reliable and quick method for achieving full functionality over your device. So, here’s how to jailbreak a Motorola G using Kingo Root. There are two versions of Kingo Root. Kingo Root APK and Kingo Root PC. To root with Reference linking the model you want is PC.
Step 1. Download and launch Kingo Root PC on your device.
Step 2. Connect the phone to your computer
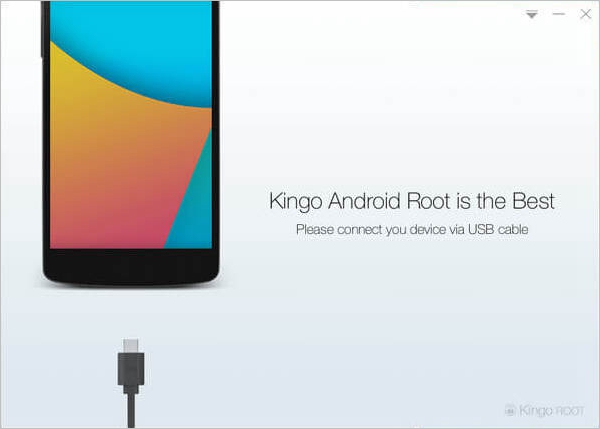
Step 3. Enable the USB debugging option in settings > developper option > USB debugging.
When you see the pup-up message “Allow USB debugging” on your phone, tap “OK” to move on.
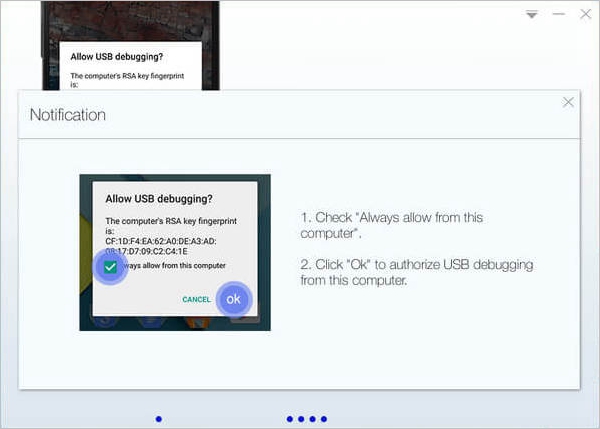
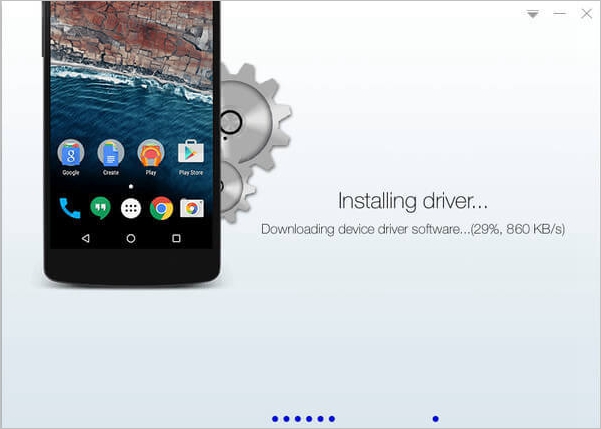
The software will detect your phone and install device software automaticallly.
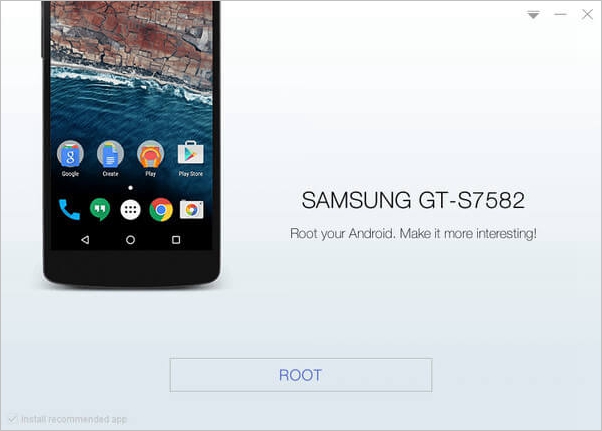
Step 4. Click ‘root’ to begin.
Step 5. If you succeed you will see the “Root Succed” screen and there will be an application named SuperUser on your device.

The significant difference between the two pieces of software named Kingo Root is that Kingo Root APK does not require the use of your PC. This allows a user to avoid USB connection, though a backup should still be performed.
Step 1. Free download and install Kingo Root.apk on your device.
Step 2. Launch Kingo Root.
Step 3. Click ‘One Click Root’.
Step 4. Wait for the result.
Step 5. In event of failure, try twice more to ensure proper functionality.
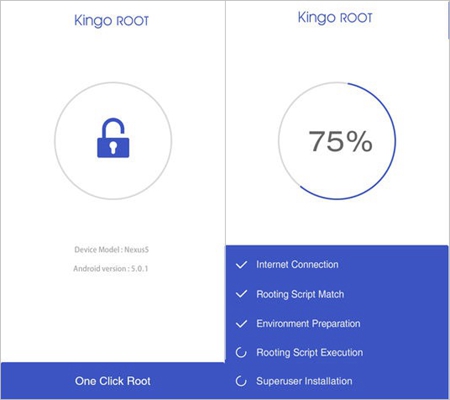
Check the programs update history and be sure that you have the latest version of the software. Tech experts are innovating as fast as they can, and occasional maintenance is required to stay one step ahead.
Jailbreaking a device unavoidably comes with risks. After all you are using a device for something several large companies are doing everything in their power to stop you from using it for. However, if you use the right programs, take some measure of care and go into the situation with your eyes open your Moto G will be able to achieve complete functionality and you can take advantage of the powerful device you have purchased.