Motorola is a very popular and widely used brand across the globe. Many users prefer Motorola over other brands for its stock Android experience and its smooth interface. But in order to utilize all its features it requires to be rooted. Though rooting a Moto device makes its warranty void and also has security issues. But many applications require the phone to be rooted in order to function properly. By rooting a device the user can access all the features of the device in other words after rooting a device the user is the developer of the device.The process of rooting is a quite risky one.If not done properly it might corrupt the software as well as the firmware. So it might happen that the phone won’t start if the process is done wrongly. So, if you are thinking of rooting your Motorola device you are exactly in the right place.
In this article we are going to discuss how to Root A Motorola/Moto Droid Device gain root access get root permission Moto Droid/Moto X/Moto Z/Moto G/Moto E.

Part 1: Root Moto Device via Android Root Toolkit with One Click
Part 2: Root Moto Device via KingoRoot without PC
Part 3: Root Moto Device via KingoRoot with PC
This Android Root toolkit is an all in one software that can recover data, does rooting, unlocks locked SIM and also removes lock-screen passwords. The software not only features an interactive interface but this software is powerful as well. This software supports more than 7000 devices which includes almost all the Moto devices. One of the best things about Android Root toolkit is that it is 100% safe to use. Your data on the device will not get corrupted and you can root your Moto device easily with a single click.
Download WinDownload Mac
Precautions you need to take before starting the process.
1. Check that your phone is having at least 50% battery level.
2. A USB cable needed to connect your device to your PC.
3. And then make a full backup of your device data in case something went wrong in the process.
So, if you are ready then just follow the guidelines below to root your Motorola device via Android Root toolkit.
Step 1. Before starting the process, first download the software, then install it on your system after successfully downloading it.
Step 2. Then launch the software and select “Android Root” feature from the interface.
Step 3. Now, you have to connect your Moto device with your system by simply using a USB cable. Then make sure that the USB debugging option is enabled on your device.
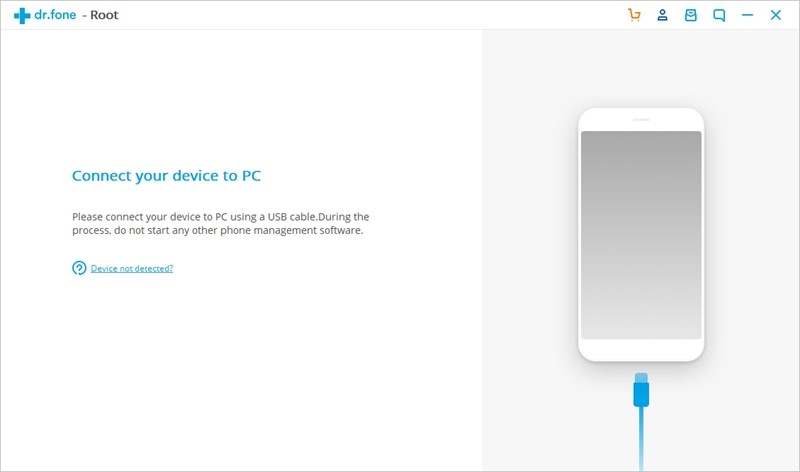
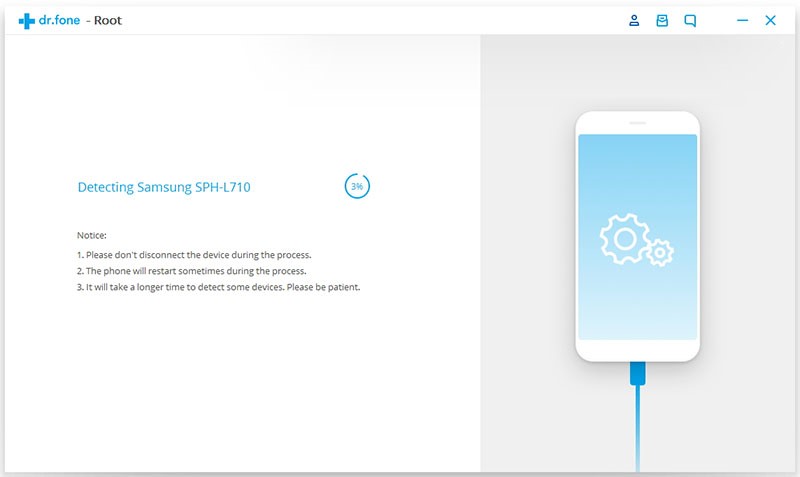
Step 4. The software will automatically recognize your Moto device and then give you a prompt about its specs. Simply continue the process.
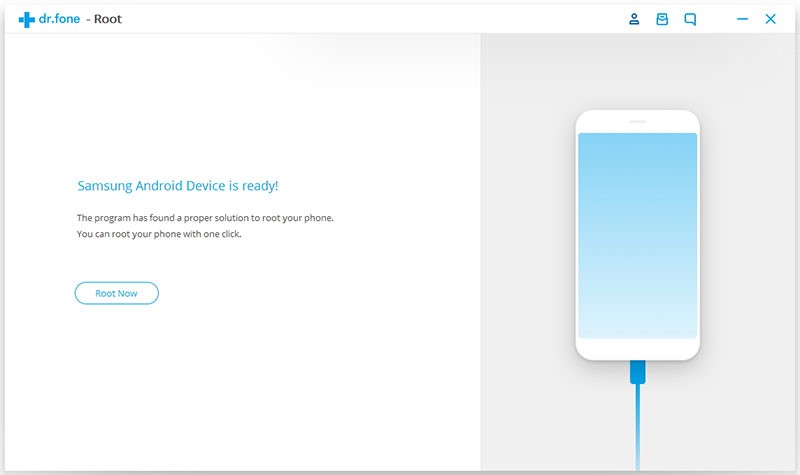
 Step 5.The software will prompt you as soon as the device is ready. Then you will see a “Root Now” option available. Click on it and then the application will handle the rest.
 Step 6. After clicking on the “Root now” option your device would pop a massage and ask that if you want to root or not. Simply agree on it and within few seconds your Moto device would be rooted.
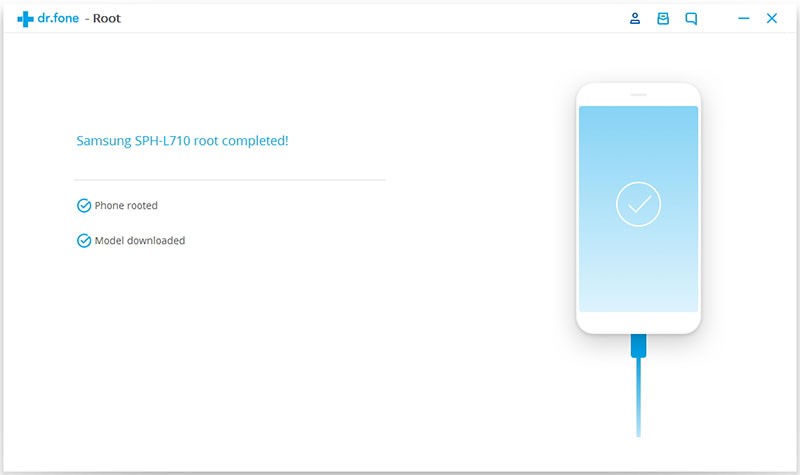 This is as simple as it sounds. Just with one click you can root your Moto device via Android Root toolkit.
Download WinDownload Mac
If you are looking for the easiest and fastest way to root your Moto Android device then you came to the right place. Root via KingoRoot which offers the best one click root for almost any Android devices which also includes Moto devices too.
Well, there are two versions of KingoRoot one is PC and the other one is APK version. So, via KingoRoot you can root your Moto device with PC or even without PC. But, before you root your devices please do remember that rooting has its risks like void your device’s warranty and the possibility to brick your device.
Well, if you think that connecting your mobile to your PC is too much complicated then you can root your device with KingoRoot APK because there is no need to connect your phone to PC via USB cable and this method is pretty much convenient. So, if you are ready then just follow the guidelines below to root your Motorola device via KingoRoot.
Step 1. Install the Kingo Root app from Google play on your Motorola device.
Step 2. After installation of KingoRoot.apk launch the app.
Step 3. Then click on “One Click Root” button to start the rooting process.
Step 4. After that wait for few minutes the result will appear on screen: succeeded or failed.
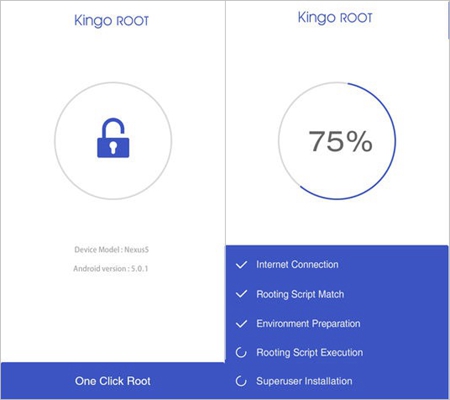
If it fails then please do try it for one more time because KingoRoot makes use of several exploits to root your Android device and KingoRoot.apk can only run one at a time. So try it several times to increase the success rate.
If it still fails to root device after several attempt then try it via KingoRoot PC version which has a higher success rate. So, if you are ready then you can start rooting your device step by step.
Step 1. Firstly download KingoRoot windows version from kingoapp.com and then install it on your PC.
Step 2. Then double-click on Kingo Android Root icon and launch the software. Instantly after launching Kingo Root it will ask to connect your Android phone to the computer via USB cable.
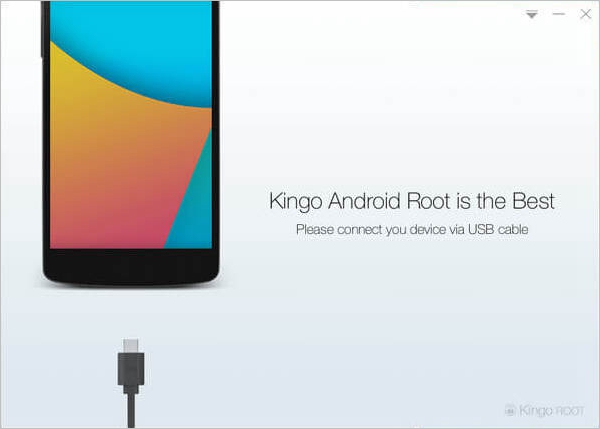
Step 3. Connect your Motorola device to your PC via USB cable. If there is no device driver installed on your PC Kingo will install it automatically. But make sure your PC is connected internet so that it can download the driver.
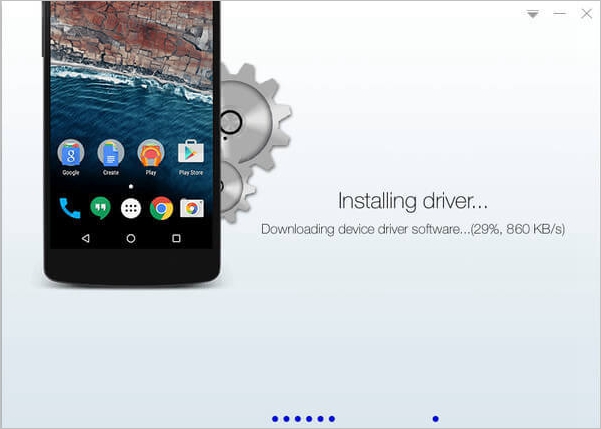
Step 4. Then enable USB Debugging Mode on your Moto device.
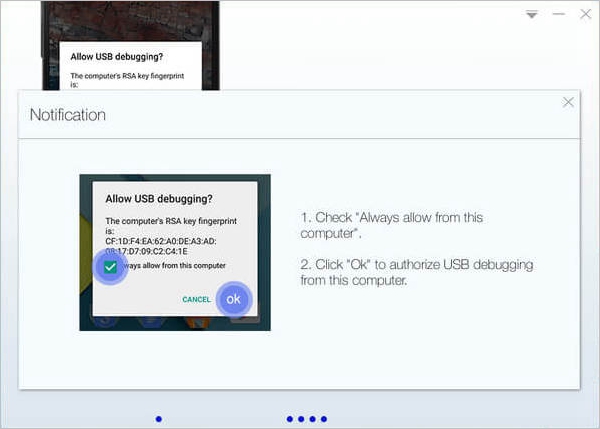
Step 5. After that read the short rooting notifications carefully and make sure to know all the advantages and disadvantages i.e., benefits and risks of rooting your device. After reading the whole thing if you are ok with it then proceed to the next process.
Step 6. So, if you have made your decision to root your phone then click root to start rooting. Once the rooting process has been started then do not move, unplug, touch or operate your device. And also make sure that stable connection is available on your PC.
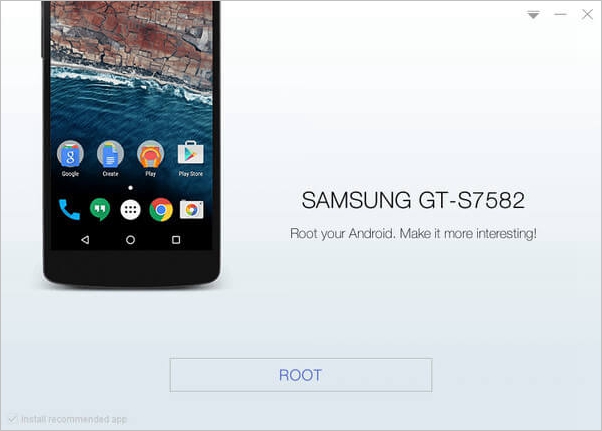
Step 7. After rooting is completed the result will appear on the interface. If your device has been rooted successfully then you will get the success massage. You can also check it manually. If you get an app named SuperUser on your device then your device has been rooted successfully.

So, if you are thinking to root your Moto device then these are the methods you should look for. These are safe and tested in Moto G and would work in all Moto devices. However you must know that rooting makes your phone more vulnerable to malware attacks and is a threat to your phones security. But if you are okay with it and just want your phone to do more rooting is the best option for you.