It’s no lie, being locked out of your phone sucks and no one wants to find himself /herself in such a situation. But this situation gets even more frustrating for iPhone users, especially those who have entered their password too many times.
They usually have to face the reality of “iPhone is Disabled, Connect to iTunes” error. This means there’s nothing they can do, except for resetting their devices.
This guide will walk you through how to fix your iPhone if you find yourself in such kind of situation.
1. Causes of the ‘iPhone is Disabled’ error
2. Fix disabled iPhone using software easily
3. Factory reset disabled iPhone with iTunes
4. Remotely erase disabled iPhone using Find My iPhone
5. How to avoid getting a disabled iPhone again
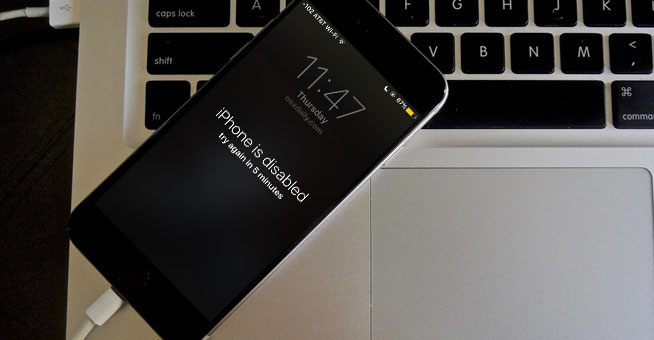
“iPhone is Disabled” error is not like any other iPhone error you’ve encountered. It results from unsuccessful attempts to unlock your device. Maybe you had too much booze last night, and you tried to access your phone, but you didn’t succeed because you had forgotten your password. Or maybe it was just a mistake. Either way, this error makes it impossible to access your information on your phone.
All attempts to unlock your iPhone will prove futile unless you enter the right password after 6 tries. Past 10 tries there’s nothing you can do, you’ll be completely locked out of your device. The only thing you can do is to wipe the device, then start from scratch again.
The best way to fix a disabled iPhone is by using a third-party toolkit. There are lots of third-party tools in the market, but FORecovery – iPhone Unlock is the most effective. It will not only unlock the lock screen of your disabled phone but also get rid of other issues affecting your phone functionality.
It’s compatible with all iOS versions and devices, including iOS 15 and iPhone X/XS/XR and iPhone 11/12/13.
The toolkit features an easy-to-use interface and unlocks screen locks of passcode, Touch ID/fingerprint, Face ID, and Apple ID, iCloud ID within minutes.
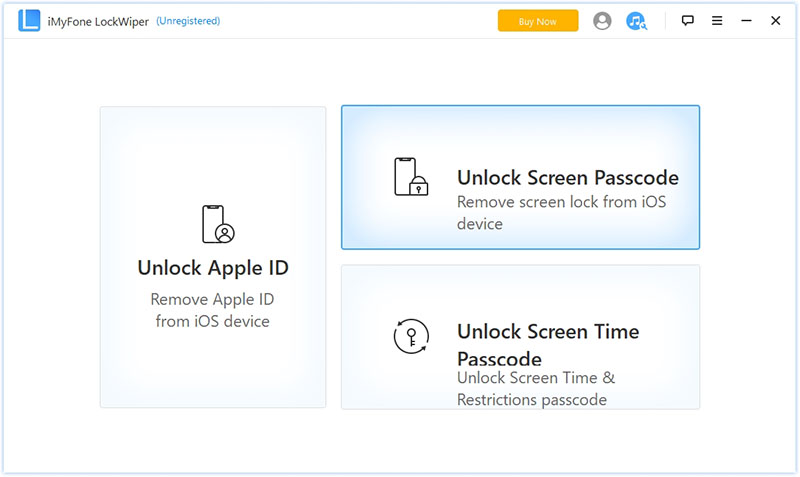
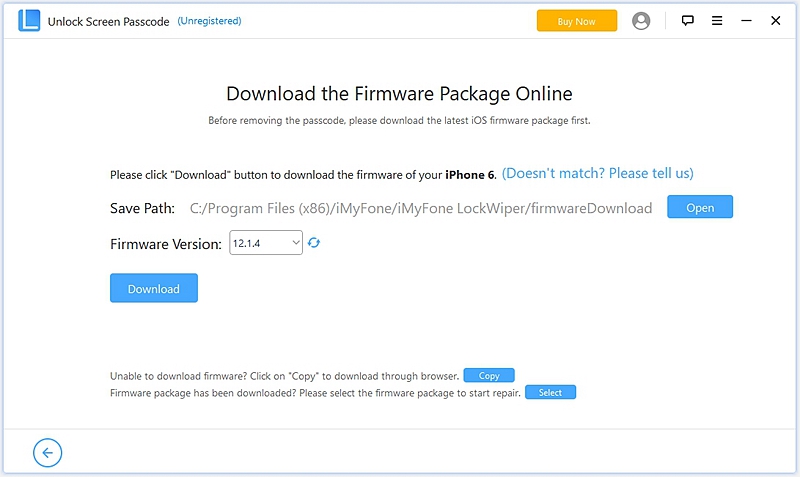
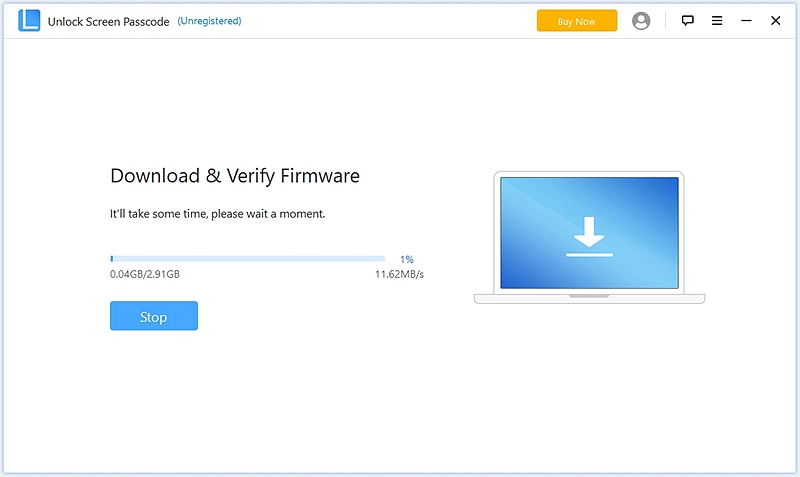
The following steps will help you fix your disabled iPhone via the softwrae. Let’s look at them.

You can easily factory reset your disabled iPhone via iTunes, erase all your phone data as well as lock screen settings, including the passcode and fingerprint, Face ID. But first, you have to install iTunes to Your Windows or Mac PC. If you already have it, ensure it’s updated to minimize errors when restoring your iPhone. The steps below will help you factory reset your iPhone with iTunes:
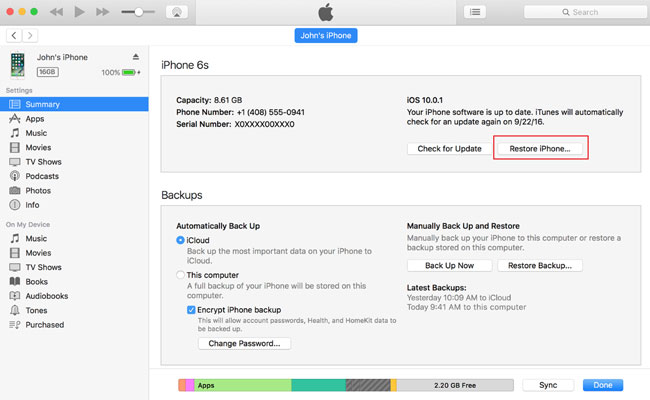
Sometimes you iTunes may fail to recognize your device. If that happens, don’t panic! You can sign in to iCloud via your Apple ID, and use the Find My iPhone option to erase your disabled iPhone. Here’s is the list of exact instructions you need to follow:
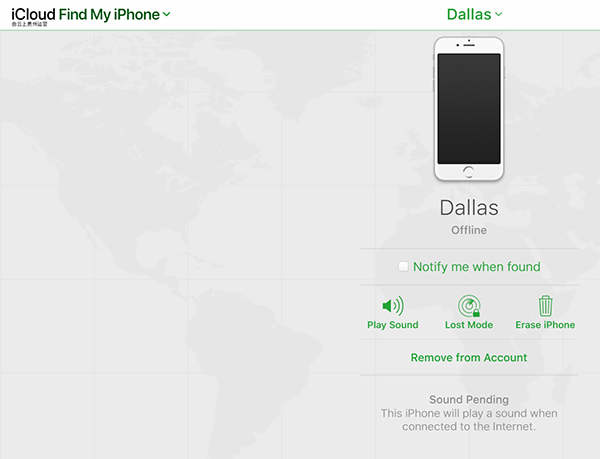
The “iPhone is disabled” message forces you to wait for a designated period before you can get can enter the right password again. And when you’re completely locked out, you have to connect your iPhone to a PC to reset it and start anew.
However, these situations can be avoided using the following ways:
Tap to Wake and Raise to Wake are iPhone features designed to wake up your device whenever you tap on the screen or raise your device to a certain height. Users who use passwords or passcode authentication methods will have to enter the correct password each time the phone wakes.
Turning off these features will prevent you from entering the incorrect passcode by mistake.
Turn off the Tap to Wake feature by clicking Settings> Accessibility> Touch, then toggle off the Tap to Wake switch.
Turn off the Raise to Wake feature by clicking Settings> Display and Brightness, then toggle off the Raise to Wake switch.
When you reduce the time your iPhone stays awake, you’ll have less chance of entering the wrong password by mistake.
To Reduce auto-lock, go to Settings> Display and Brightness> Auto-Lock and reduce the time to 30 seconds.
Another way to avoid getting your iPhone disabled is by using a 6-digit password since longer passwords mean you must enter more buttons before messing up your device. You can also copy your password and keep it safe, so you can refer to it once you’ve forgotten your password.
That will be all for now. We hope this guide adds value and helps you to fix your iPhone anytime it gets disabled. Thank you.